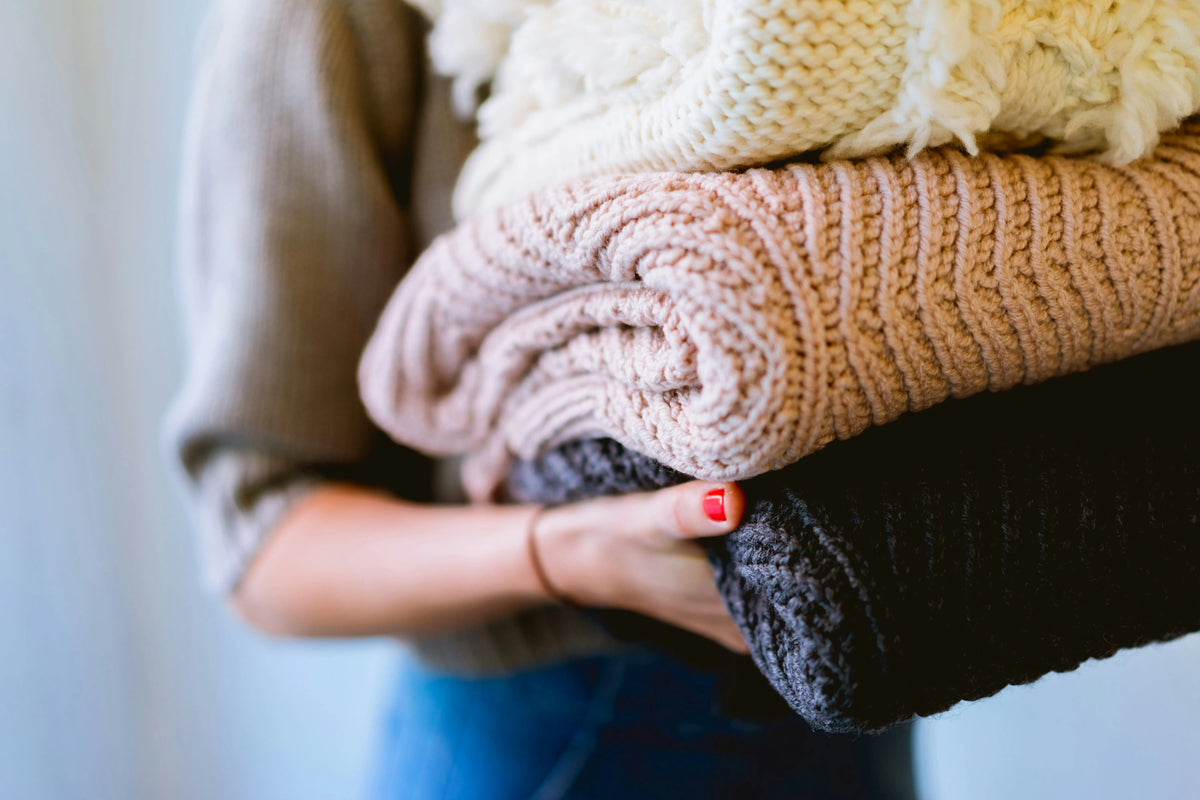
Bulky sweaters are space eaters of a closet. People assume this is the only problem till the struggle of packing sweaters in a carry on comes. A few thick knits are space hogs, which take up more space than a whole stack of lighter clothes. Fleece pullovers and wool sweaters, oversized knits and heavy winter tops all have the same problem. They need room even after you fold them neatly.
I often found myself in a similar situation before a trip. I wanted to take enough sweaters for a moderate to cold destination without overstuffing my carry on. Of course, I needed to pack other things also. Leaving the sweaters behind did not feel practical to me. My struggles ended when someone recommended vacuum storage bags, and I decided to test the idea before trusting them with my actual trip. My goal was simple. I wanted to see how much space I could save and whether I could fit my needed sweaters with the rest of my clothes in one carry on. Want to know my test results? Keep reading this guide about how to pack sweaters wisely.
I Pulled Out Every Sweater and Chose What I Would Actually Travel With
I started the test by taking all my sweaters out of the closet. I proudly say my collection had a mix of
- thick knitted sweaters
- fleece pullovers
- heavier wool pieces
- few lighter knits
The difference in thickness stood out right away. Some thin layers became fairly flat after folding. The thick ones offered no reduction in volume even after I pressed them down.
I then separated the pieces I would actually take on a trip to a moderate or cold area. I didn’t want to see how many sweaters a vacuum bag could hold easily. I wanted a genuine test that would help me in my travel packing.
That gave me a fixed sweater load to work with. I could now compare the space these clothes needed before compression with the space they took after compression. This also made the carry-on test more useful since I had a clear set of clothes for the trip.
I Matched My Sweaters to the Right Vacuum Bag Size
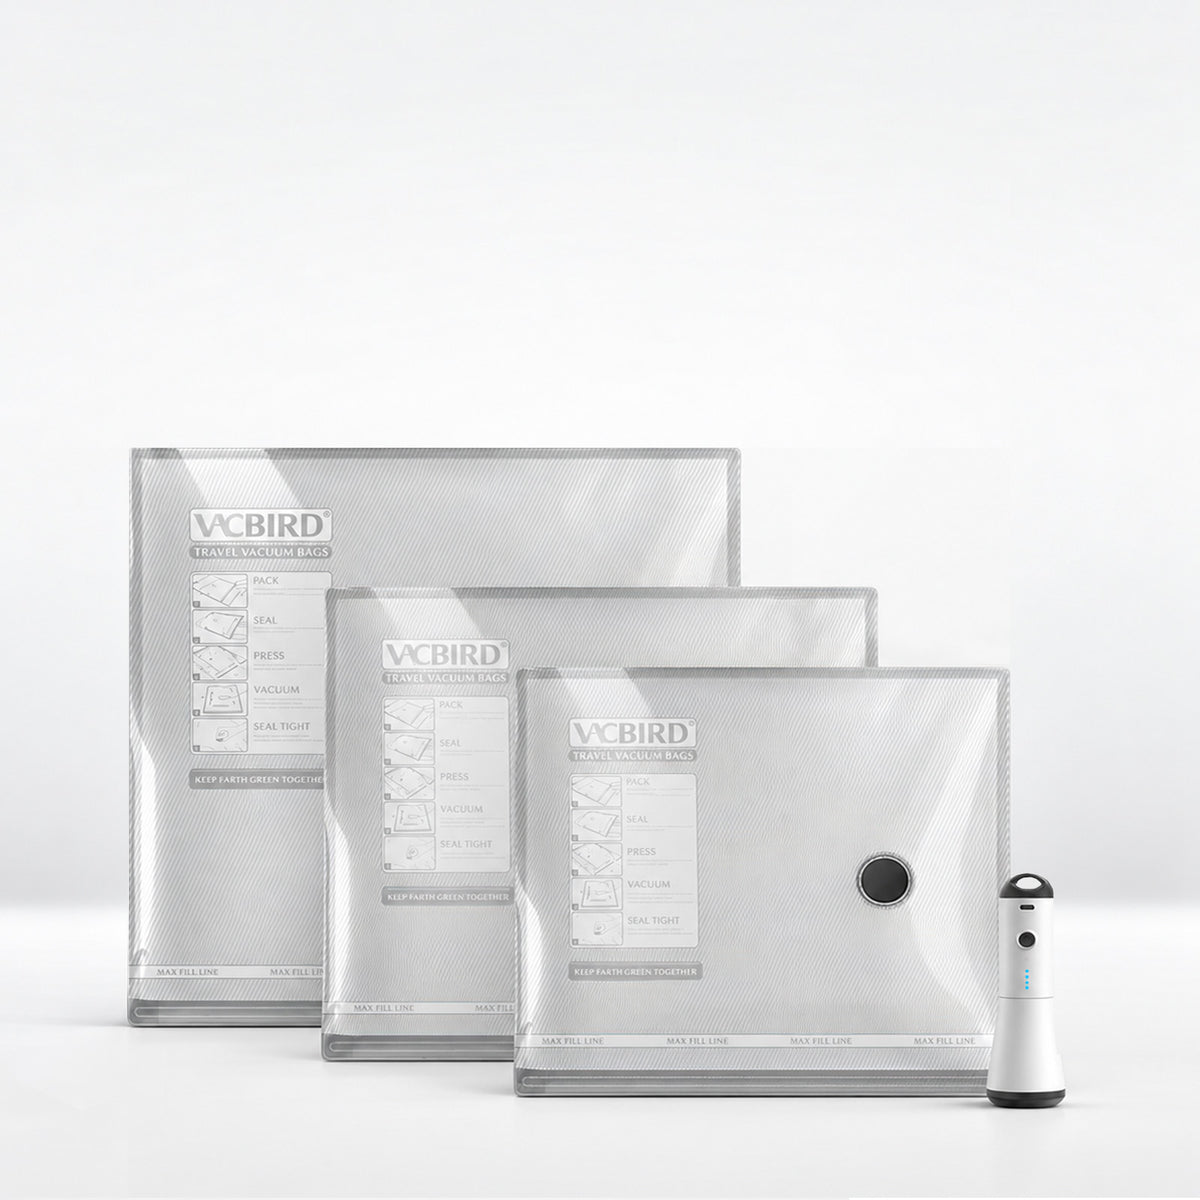
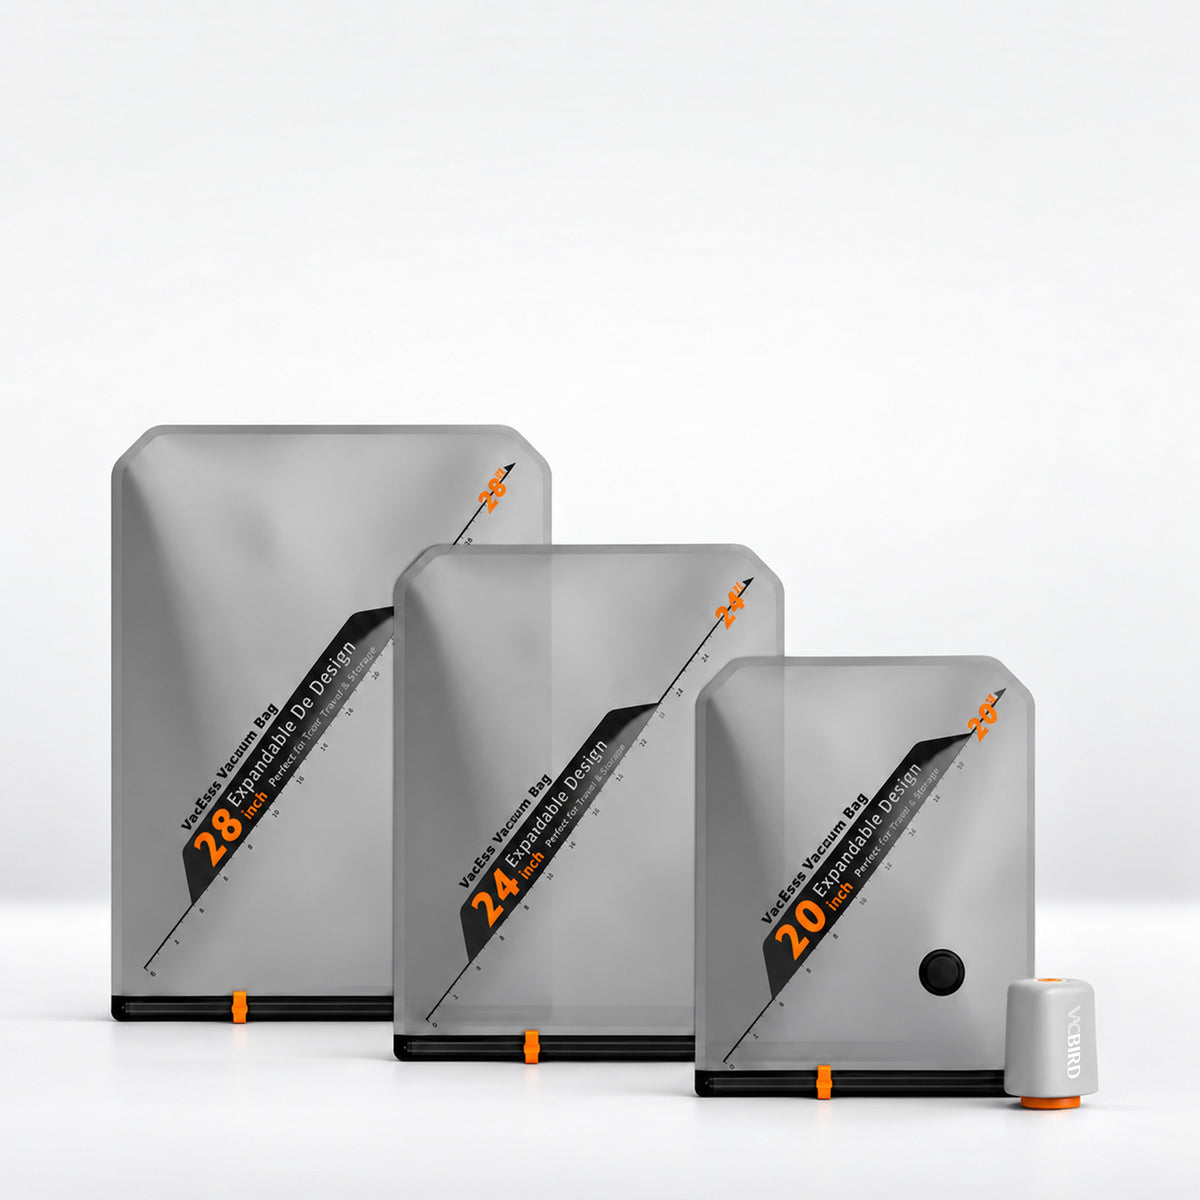
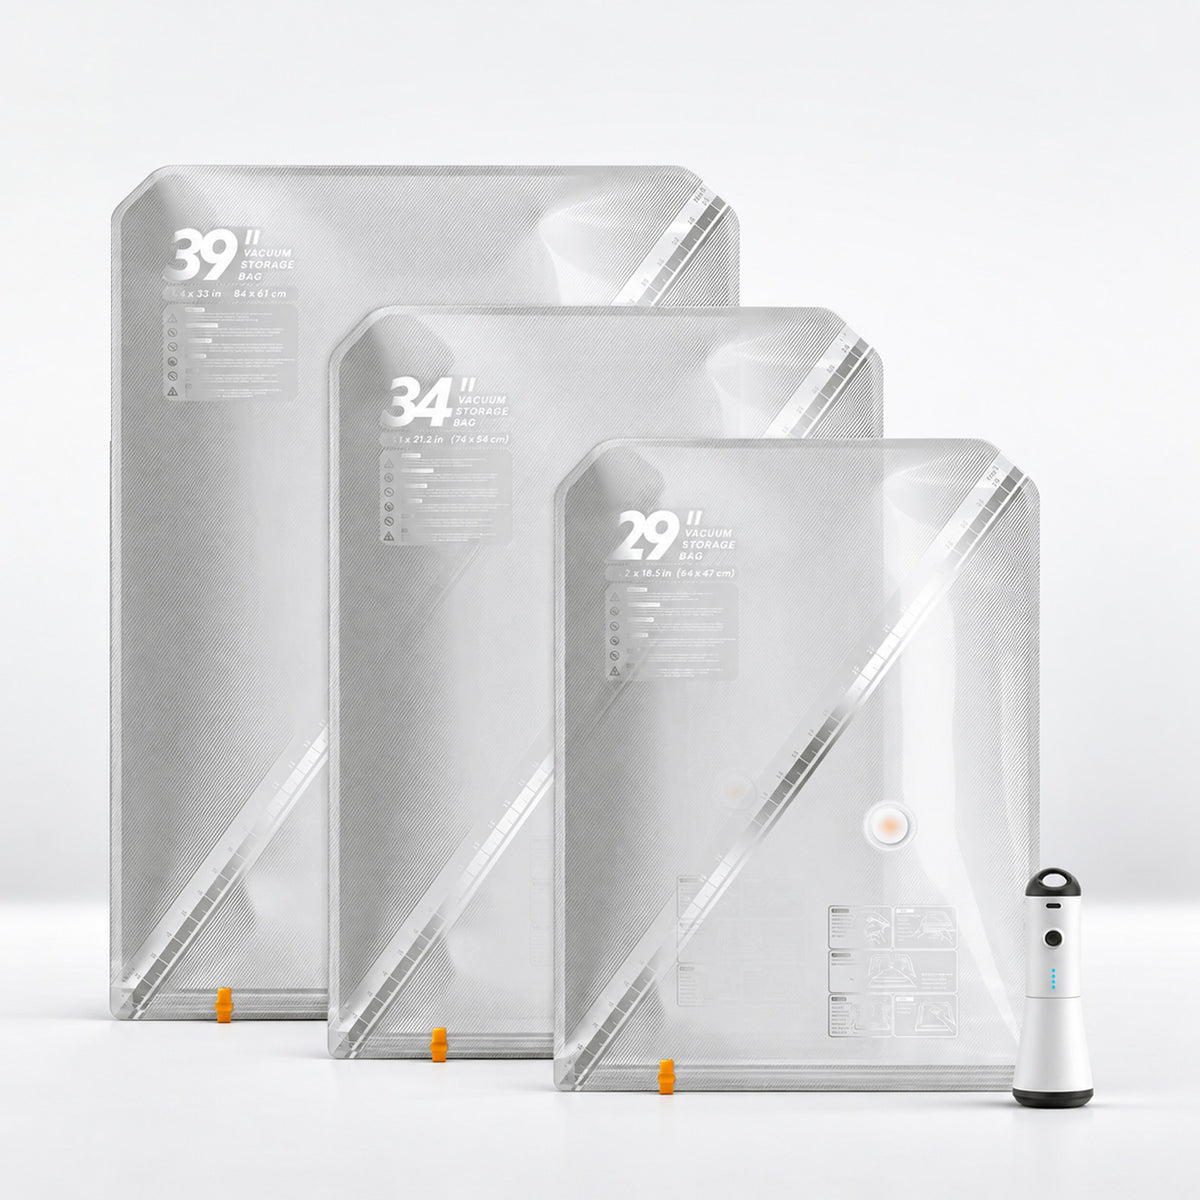
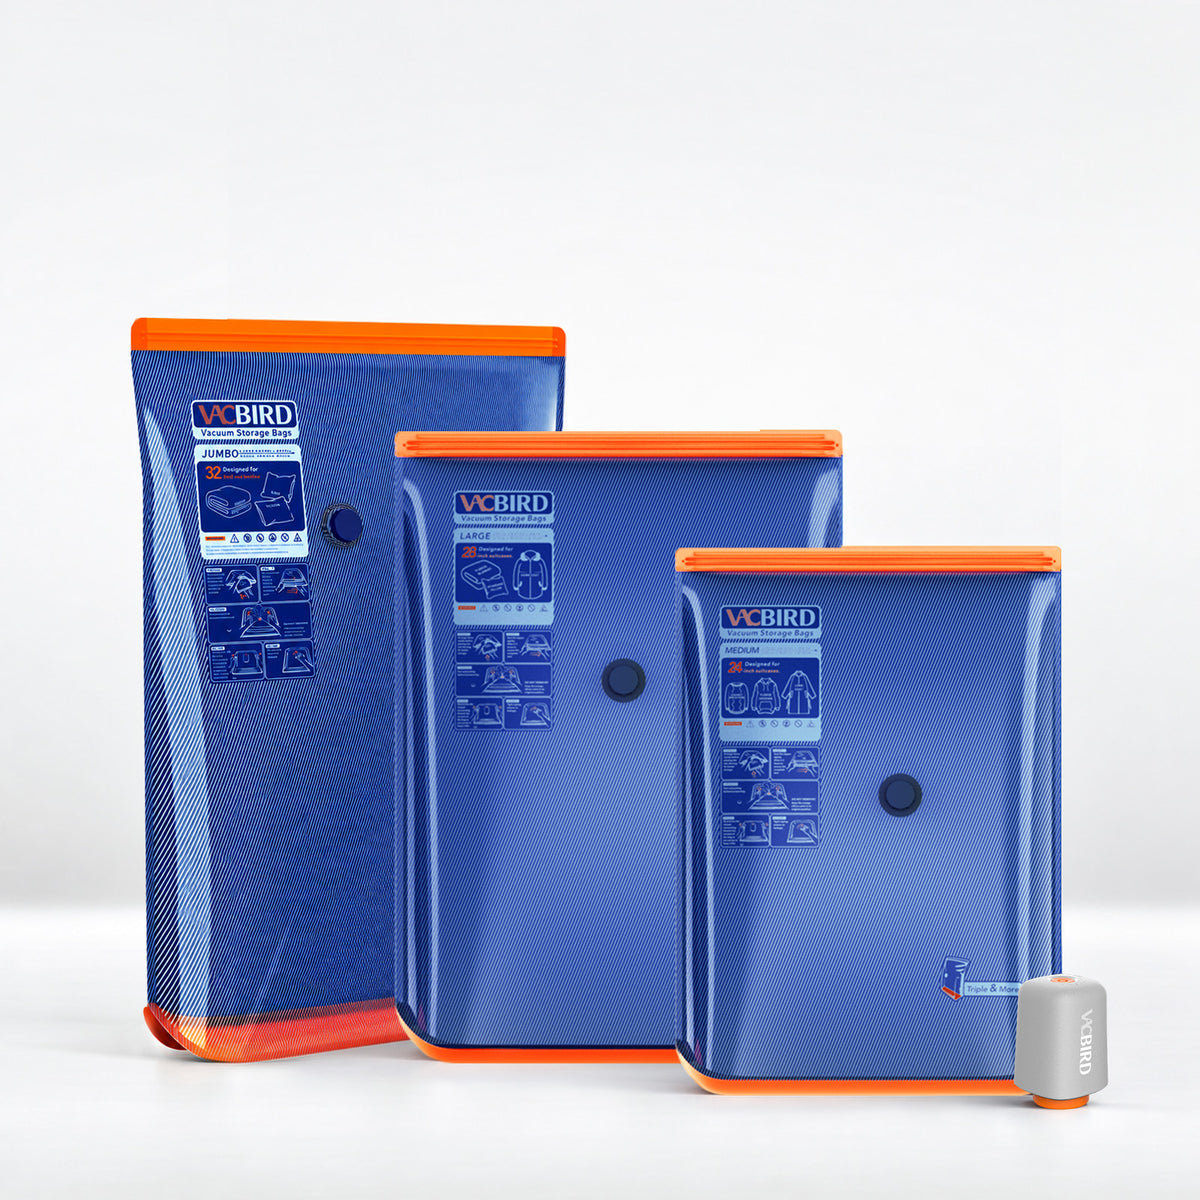
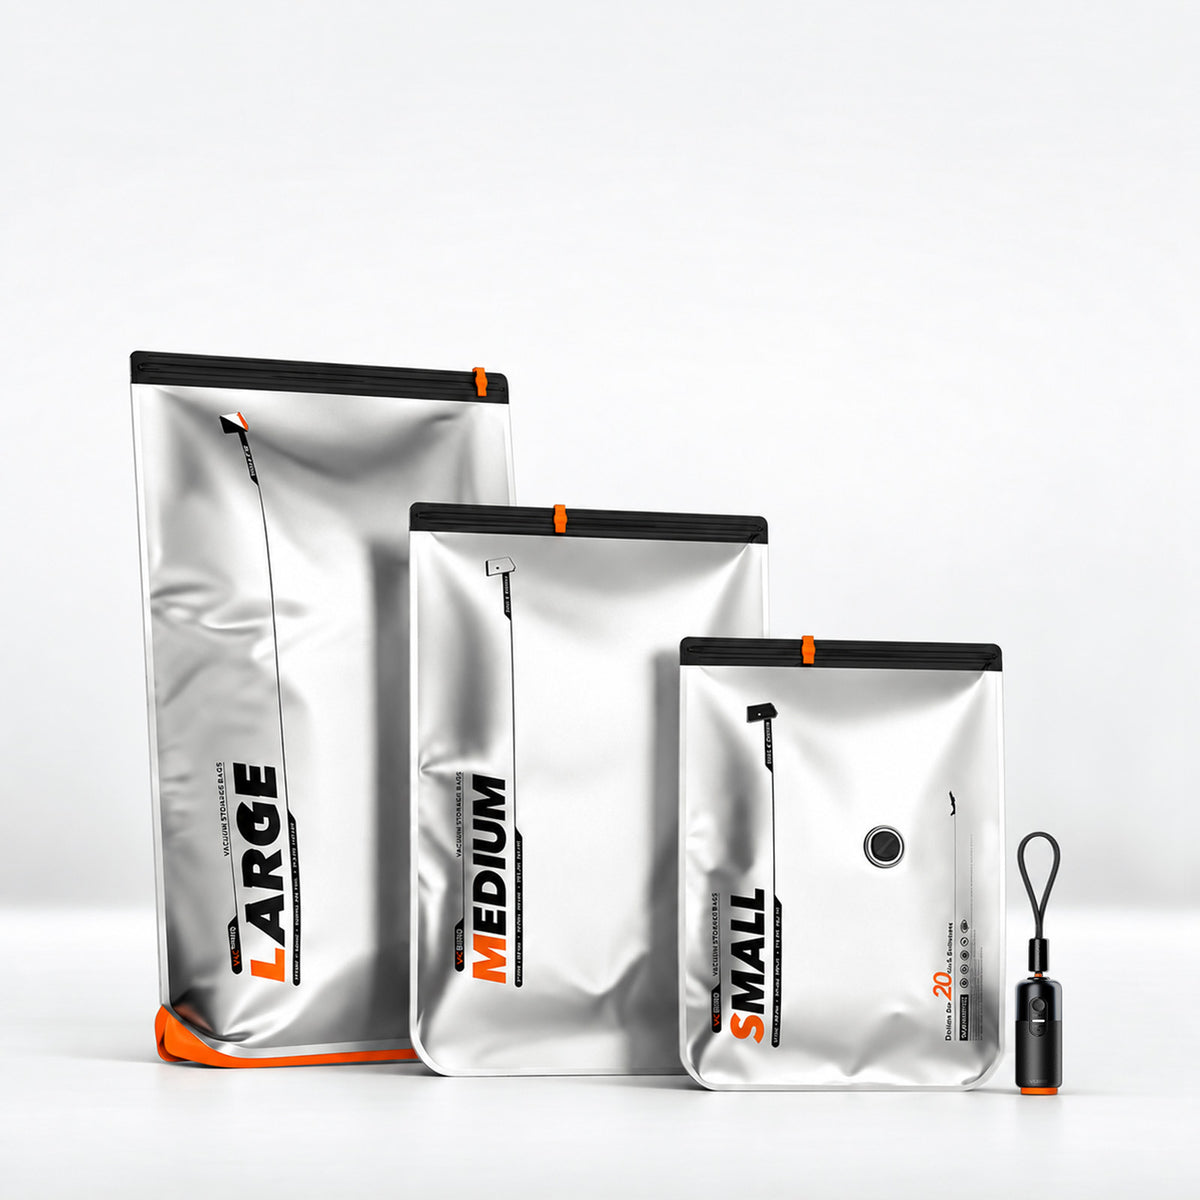
For the test, I picked the Vacbird Turbo X7 Plus after someone suggested it as a good quality option. I ordered it, and it came to me. The kit comes with 3 different sizes of vacuum storage bags. My next step involved finding a size that suited my sweater pile.
I checked the dimensions of all bags and then the number and thickness of my selected sweaters. Comparing them had given me a good idea. I picked the right number of items as I didn’t want to create a tall or uneven pile. The thickness mattered more than the number of sweaters. Three very thick sweaters could take up more room than several thin ones.
I placed the selected sweaters together and checked how they would sit inside the bag. I kept the stack fairly even and made sure the garments did not bunch up in one area. This gave me a better starting point for the compression test.
I Compressed the Sweaters to See How Much Space I Could Actually Recover
Once I had the sweater stack ready, I placed it inside the vacuum bag and closed the zipper. I then connected the Turbo X7 Plus pump and started removing the air.
The change happened as the air left the bag. The plastic pulled closer around the sweaters. The thick stack gradually lost its loose shape. Thick fibers and folds hold plenty of air, which adds to the overall volume of the clothing.
The Turbo X7 Plus uses 4000 Pa suction with 140 L/min airflow. During my test, I cared less about the numbers on the product page and more about what happened to the actual sweater stack. The compressed bundle took a much flatter shape than the original pile.
One thing became clear during the test. Vacuum compression reduces volume rather than weight. The sweaters still weighed the same. They simply occupied less physical space.
That difference matters a lot when you need to pack bulky clothes carry on.
I Packed the Rest of My Trip to Find Out If the Space Saving Mattered
That was an even more crucial stage of my test. A compressed sweater bag looks much smaller on a table. The question is about its usefulness inside a real suitcase.
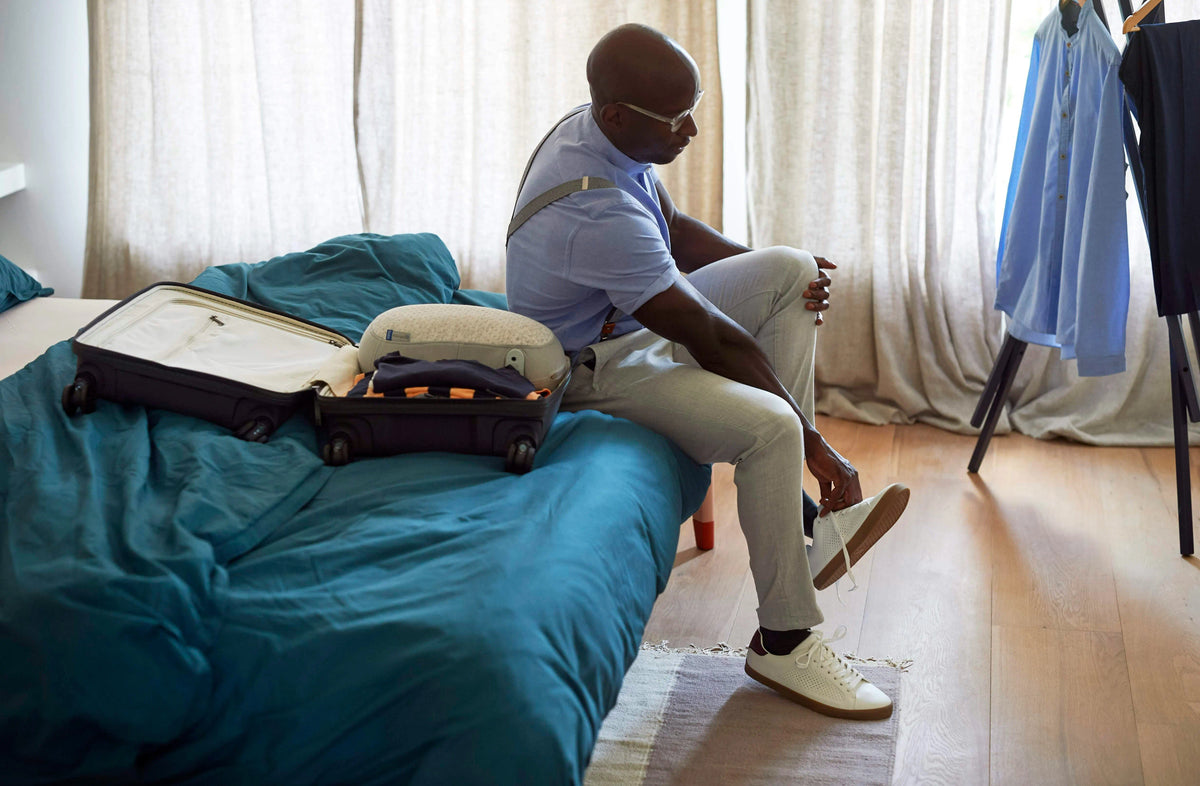
I gathered the other clothes I needed for the trip and took out my empty carry on. I placed the compressed sweaters inside first. Then I started adding my other clothing around them. I also used vacuum bags for some of the other clothes during the test.
The arrangement felt different from the usual method. Without compression, several thick sweaters create a large loose block that pushes against the other clothes. After compression, the sweater bundle had a flatter and more controlled shape. I could position it inside the carry on and use the remaining space for other clothes.
A couple of small packing choices also helped me use the space better:
- The right thing is putting the compressed bags near the bottom of the carry on when you do not need the sweaters during the flight. This leaves easier access to smaller items you may need along the way.
- Balance of the suitcase is important. Proper placement of items in a vacuum bag helps in an even, compact shape. Placing all heavy clothing on one side makes the carry on harder to handle.
The result answered the question I had when I started. I could fit the number of bulky sweaters I needed along with my other travel clothes in one carry on.
That was the real test for me. I was not trying to create an impressive pile of compressed clothes. I wanted enough room to take the clothes I actually needed without stuffing the suitcase.
The Space Saving Was the Result I Wanted, But It Was Not the Only One
I started this test only to check the space saving feature of vacuum storage bags. The sealed bag gave me a few other benefits that I had not considered at the start.
Once my clean sweaters sat inside a closed bag, they had a barrier around them. That helped keep them separate from dirty clothes in the luggage. It also reduced their exposure to dust and outside smells during travel.
The bag added another layer between the sweaters and common travel problems too. An accidental liquid leak inside the carry-on would have another barrier to pass through before reaching the clothing. Rain and snow also become less concerning when clothes sit inside a sealed bag instead of directly inside the suitcase.
I also found the idea useful for storage after a trip. Dry clothing, sealed away from outside moisture, has less exposure to conditions that may contribute to mold. The enclosed space also gives pests and dust less direct access to the sweaters.
These benefits did not replace the main purpose of my test. They simply made the vacuum bags more useful than I first expected.
Lessons I Got From Packing Bulky Clothes Wisely in a Carry-On
The test changed the way I think about sweater packing. My first instinct had always involved folding clothes smaller and pressing the stack down. That only worked to a point. Thick sweaters still kept much of their volume.
Vacuum compression gave me another option. Instead of trying to make a bulky sweater stack fit the carry-on, I first reduced the amount of air around the clothes. That changed the shape of the bundle before it went into the suitcase.
Bag size also matters, as it gives you an idea about the number of items you pack without making the bag an uneven, hard object. I would now choose the bag based on the thickness and quantity of the clothes. I never do and recommend simply picking the largest one.
The most important aspect is that I would judge the result inside the suitcase. A bag that looks compact on its own becomes questionable when we ask about how much usable room it creates beside the rest of the travel gear.
Conclusion
I started this experiment with one simple concern. My bulky sweaters needed too much room, and I did not want that problem to force me to leave them behind. I desperately needed to find out how to pack sweaters properly.
The Turbo X7 Plus gave me a practical way to reduce their volume before putting them into my carry-on. I managed to fit my required sweaters along with my other travel clothes, which gave me the result I wanted from the test.
The main lesson was simple. The trick was not taking fewer sweaters. It was changing how much space the sweaters occupied before they went into the carry-on.