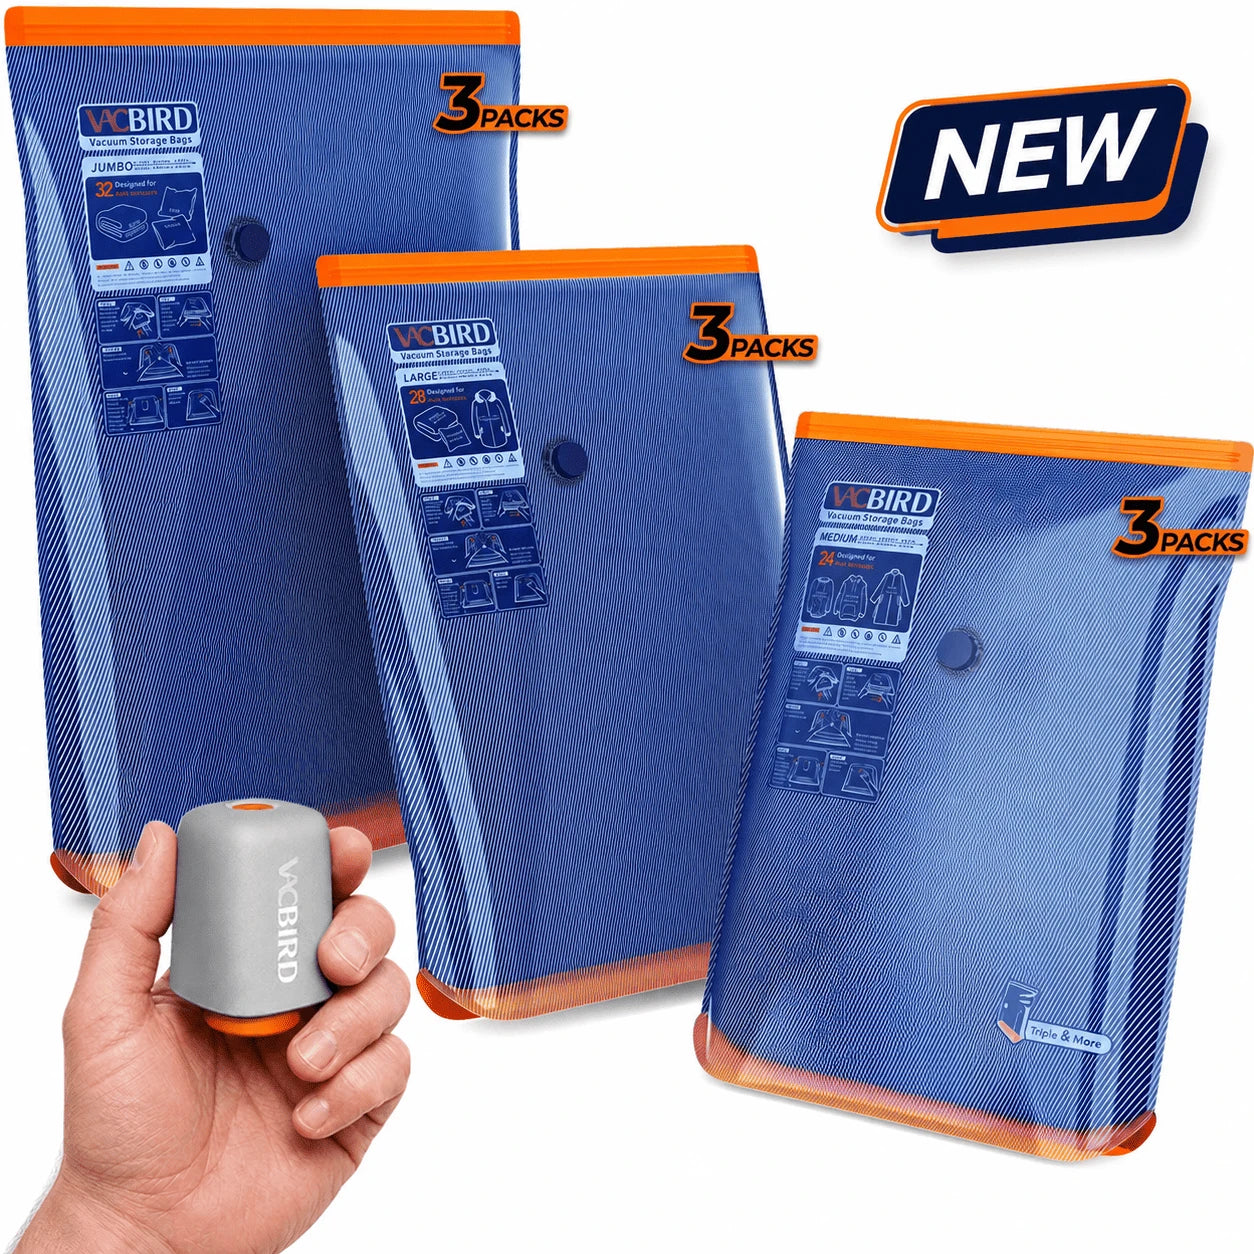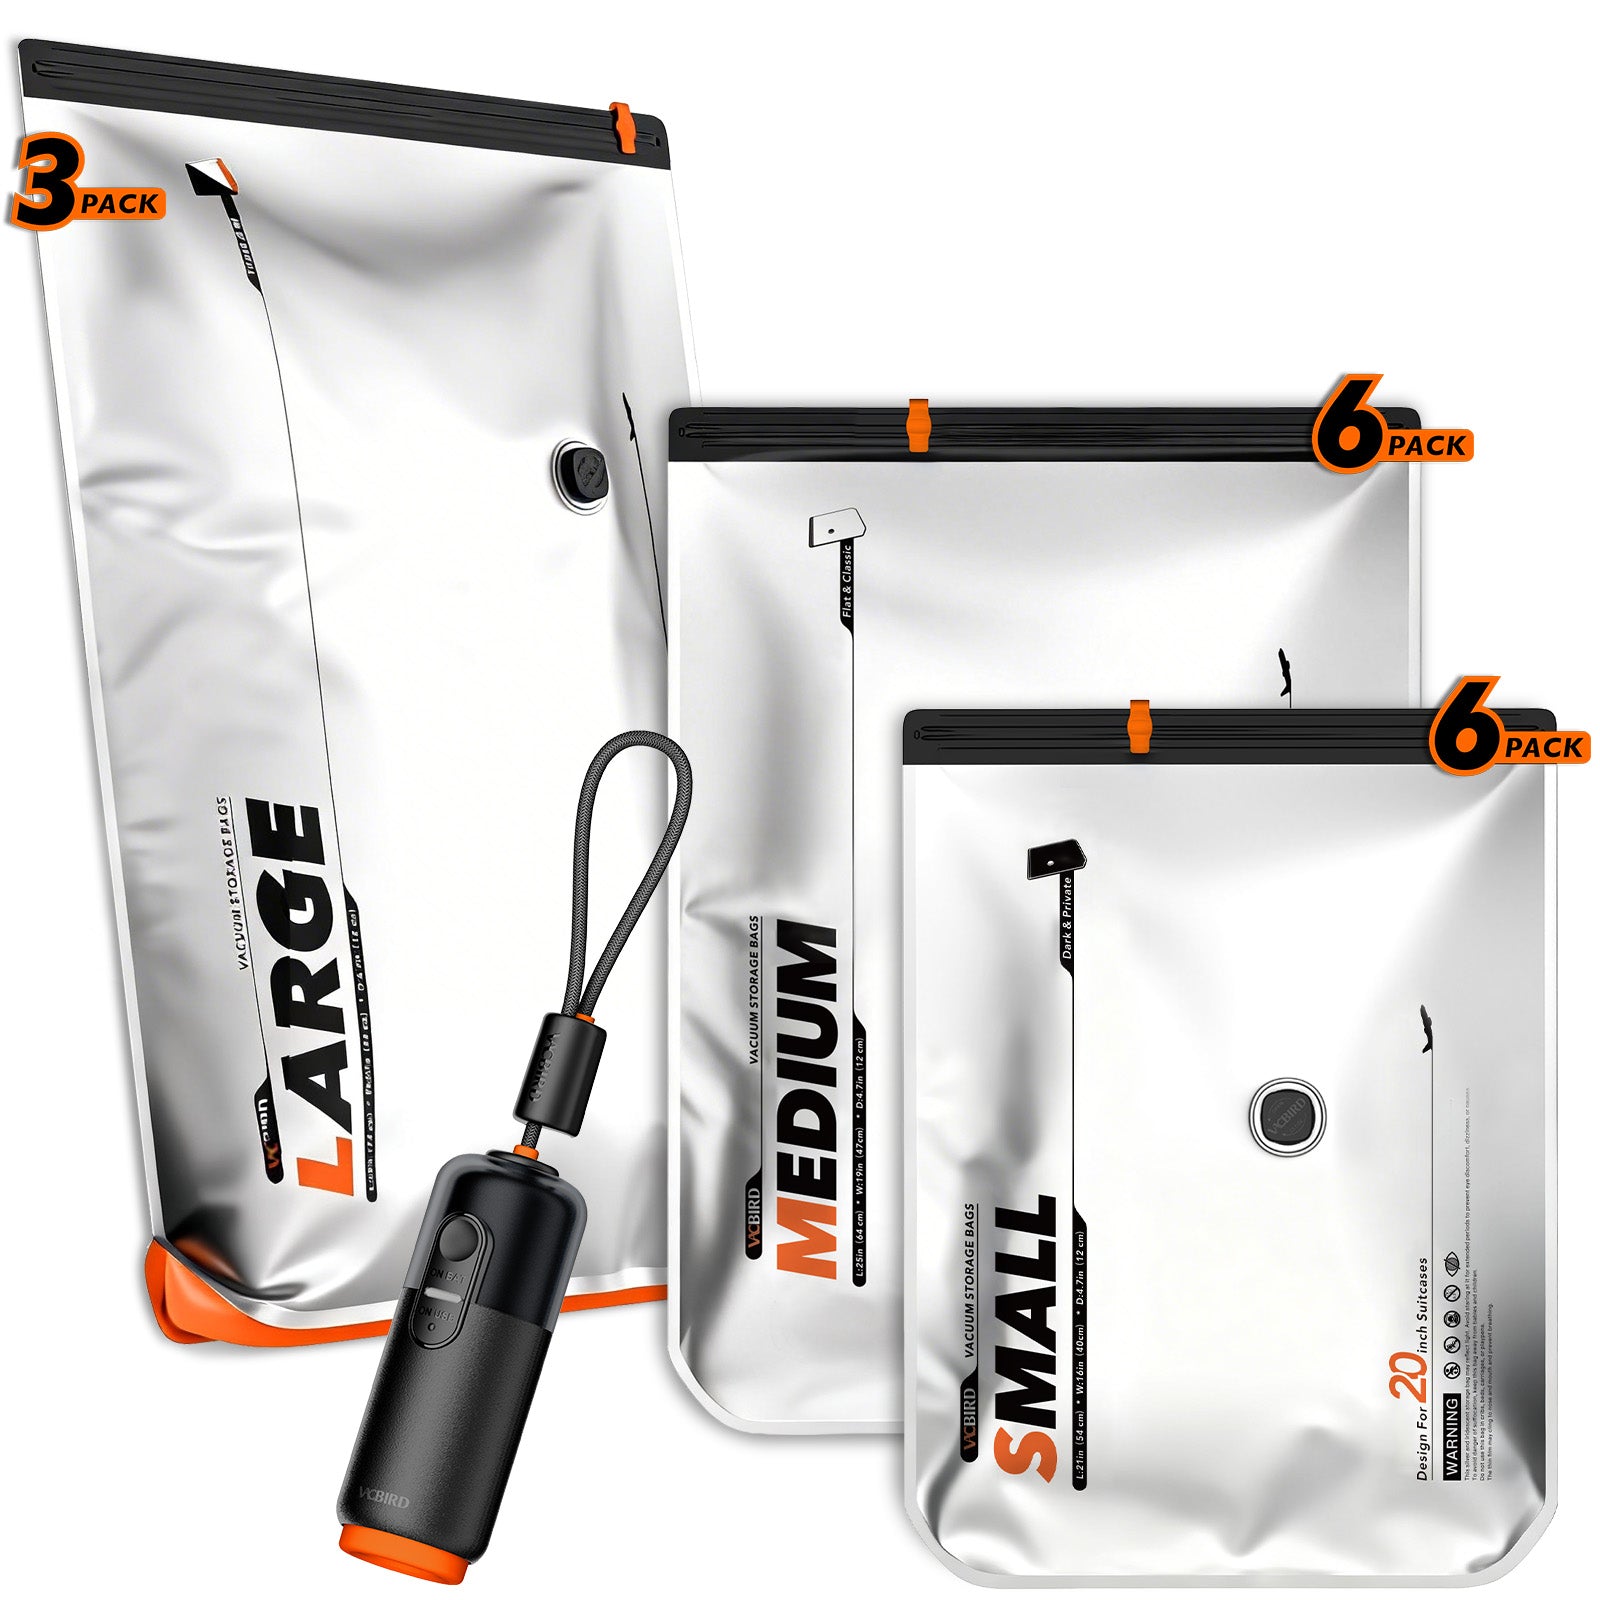
Clothing storage time arrives.
You gave it a sniff. You gave it a quick squeeze. It felt dry enough, so into storage it went.
You opened the bag a few months later and got a surprise that definitely wasn't on your seasonal cleaning checklist.
“Wasn't this completely dry?”
You asked yourself the same question every homeowner has asked once in their lives.
Understand this.
Dry on the outside doesn't always mean dry all the way through.
The items you stored have thick towels and comforters, along with jackets and hoodies. Such thick fabrics and layered items love to hang on to hidden moisture.
The good news?
You don't need expensive moisture meters, special equipment or expert skills to catch it.
I'll show you a few simple checks that I now use every time I store my clothing and bedding.
You'll never trust the 'feels dry to me' test again after knowing what to consider. You need a few minutes for these tests, which will save you from regret later.
Why ‘Dry to the Touch’ Can Be Misleading
Many people trust their hands. I did the same thing for years. A quick touch felt enough. The fabric felt dry, and I thought the job was complete.
The problem starts with the way many materials dry. The outer surface loses moisture first. Thick inner layers often take much longer. Your fingers only touch the outside. They never tell you what hides inside folded fabric or padded sections.
Think about a large bath towel. The outside may feel soft and dry after several hours. Open the thick fold in the middle, and you may notice a cool feeling. That cool spot often tells you moisture still hides inside.
The same thing happens with many household items.
Items that often Hold Hidden Moisture
- Thick towels
- Comforters
- Blankets
- Winter jackets
- Hoodies
- Pillows
- Sleeping bags
- Canvas bags
The weather also plays a part. A warm sunny day dries fabric much faster than a humid afternoon. Indoor drying may also leave moisture behind when fresh air does not move around the room.
I also notice another common habit. People take laundry straight out of the dryer and fold it right away without thinking that warm fabric that may often feel dry still has a little moisture inside. A short resting period tells a much clearer story.
That is why I never trust a quick touch anymore. I always check the item a little more carefully before putting it away.
What Does "Absolute Dryness" Actually Mean?
The phrase absolute dryness may sound technical. The idea stays very simple.
An item reaches absolute dryness when hidden moisture no longer remains inside the material. Every part feels dry, not only the outside.
You do not need laboratory tools to understand this. Think about the whole item instead of only the surface.
A truly dry item has these signs.
- The outer fabric feels dry.
- Thick sections feel dry.
- Seams do not trap moisture.
- Folded areas stay dry.
- Padding feels normal instead of cool.
- The item no longer holds extra moisture inside.
Many people focus only on appearance. Clean clothes often look ready for storage long before they actually are.
I now ask myself one simple question before storing anything.
Would I feel confident packing this item away for several months without opening it?
That question helps me slow down and check everything one more time.
Why Vacuum Storage Works Best With Completely Dry Items
Many people blame vacuum storage bags when they find mold later. My own experience taught me something different.
A vacuum storage bag does not create moisture. Instead, it saves what you put inside your bag.
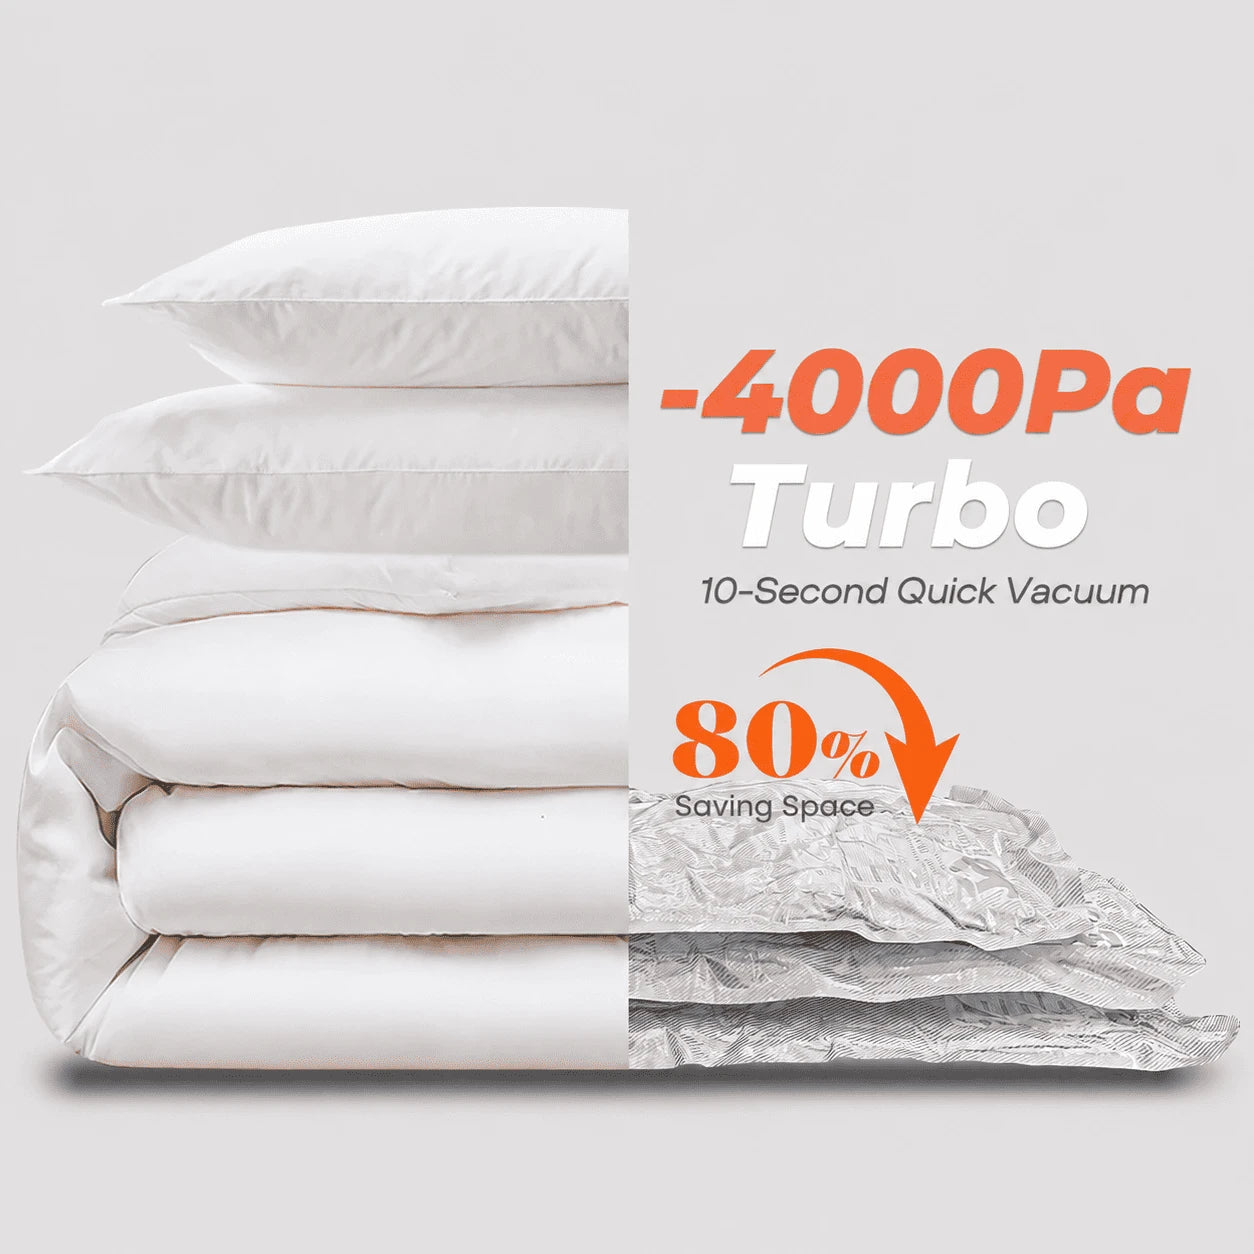
Suppose you place a completely dry comforter inside a quality storage bag. The bag saves your inside items from dust and dirt, along with insects and everyday exposure. Your closet or underbed storage now has enough room for other items because of this compressed storage method.
Now think about another comforter that still holds hidden moisture. The moisture already exists before you seal the bag. The storage bag simply keeps the item in the same condition that it entered.
That is why preparation matters more than people think.
I look at vacuum storage as the final step instead of the first one. My routine stays simple.
- Wash the item.
- Dry it well.
- Check for hidden moisture.
- Confirm absolute dryness.
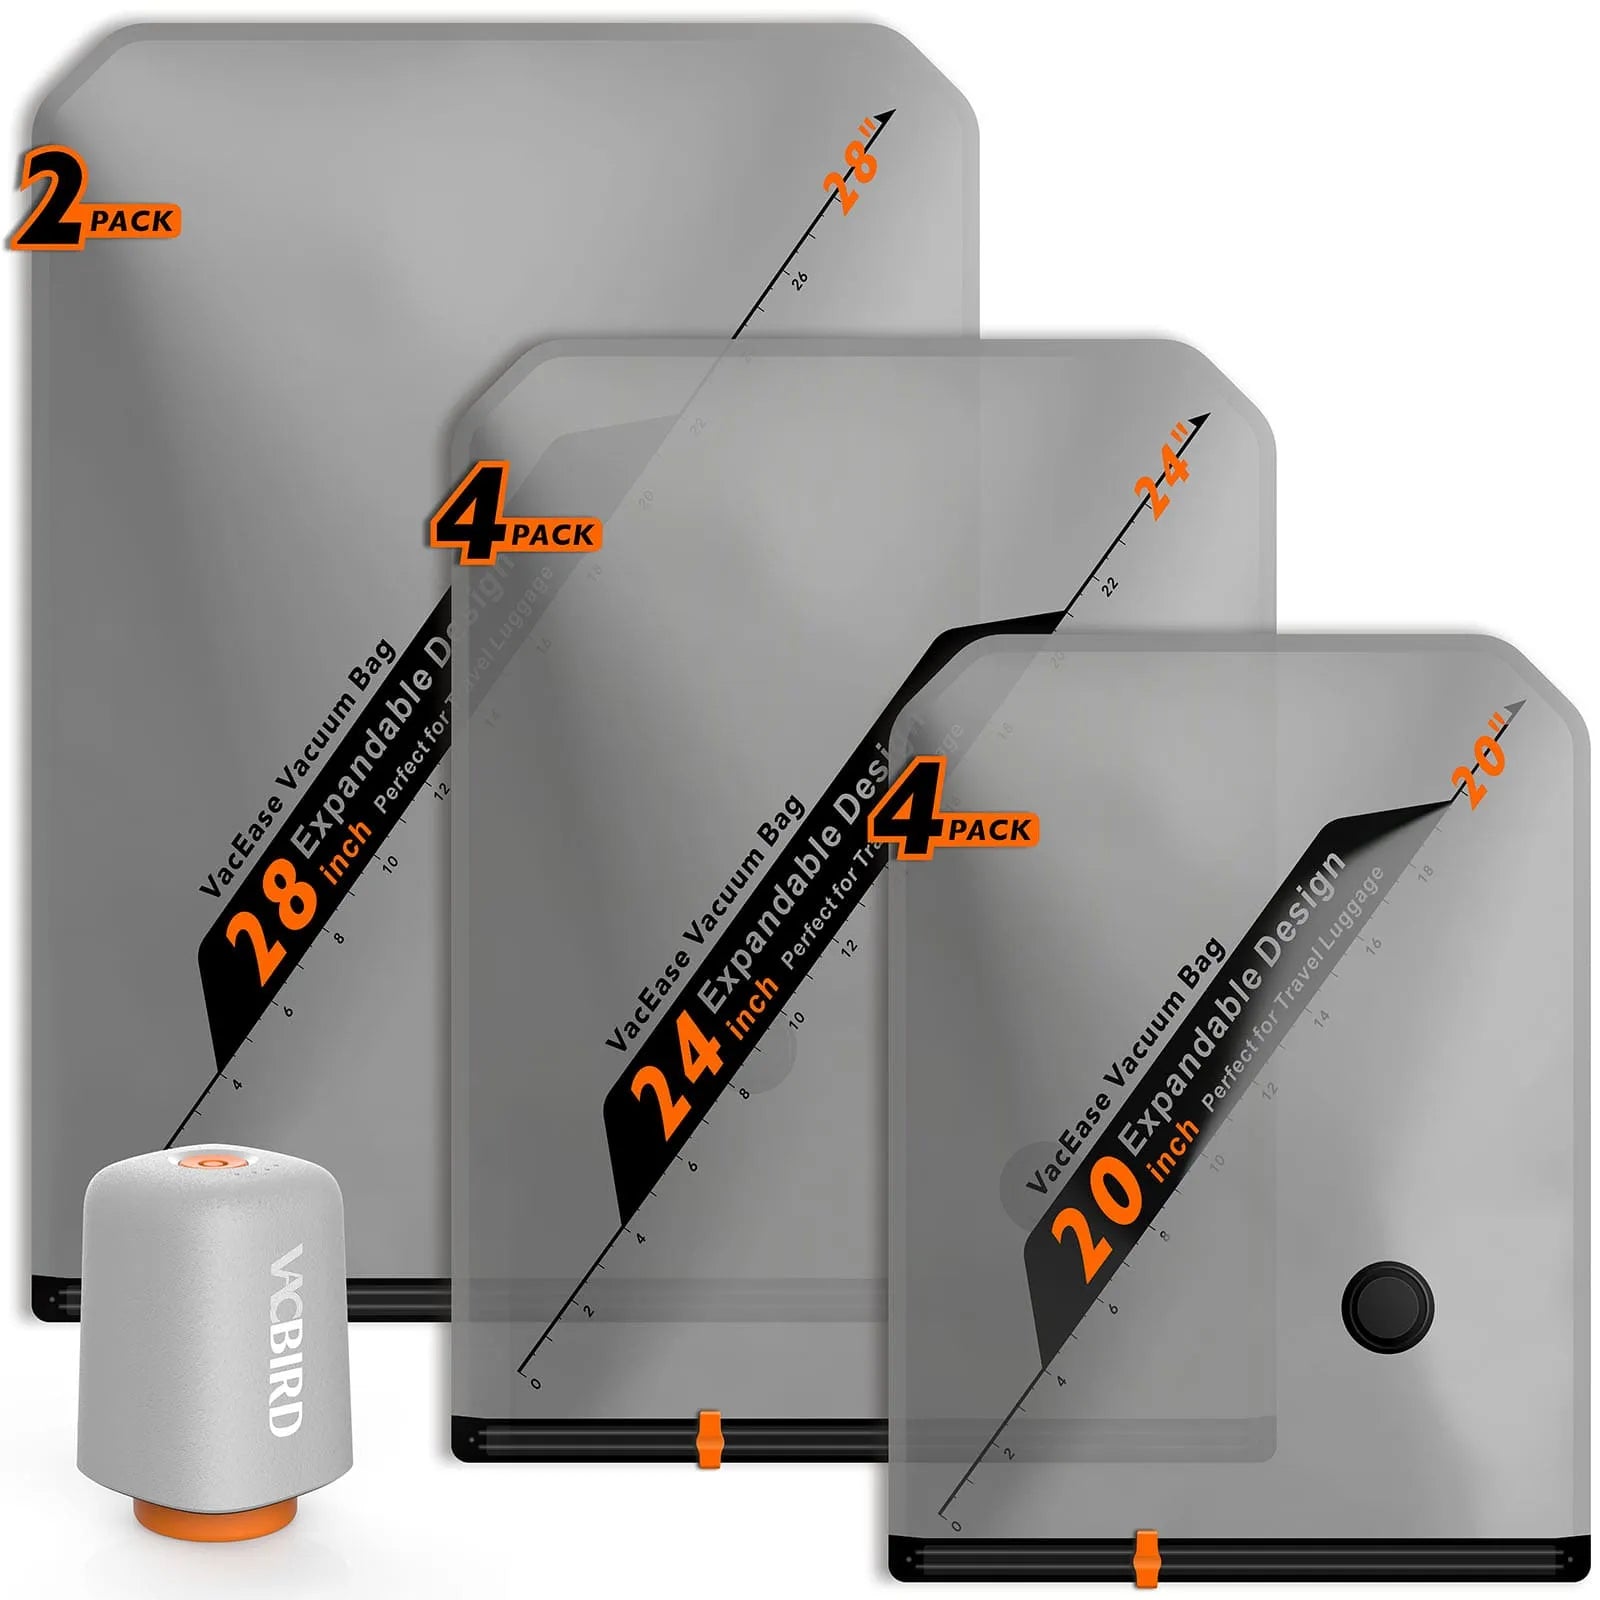
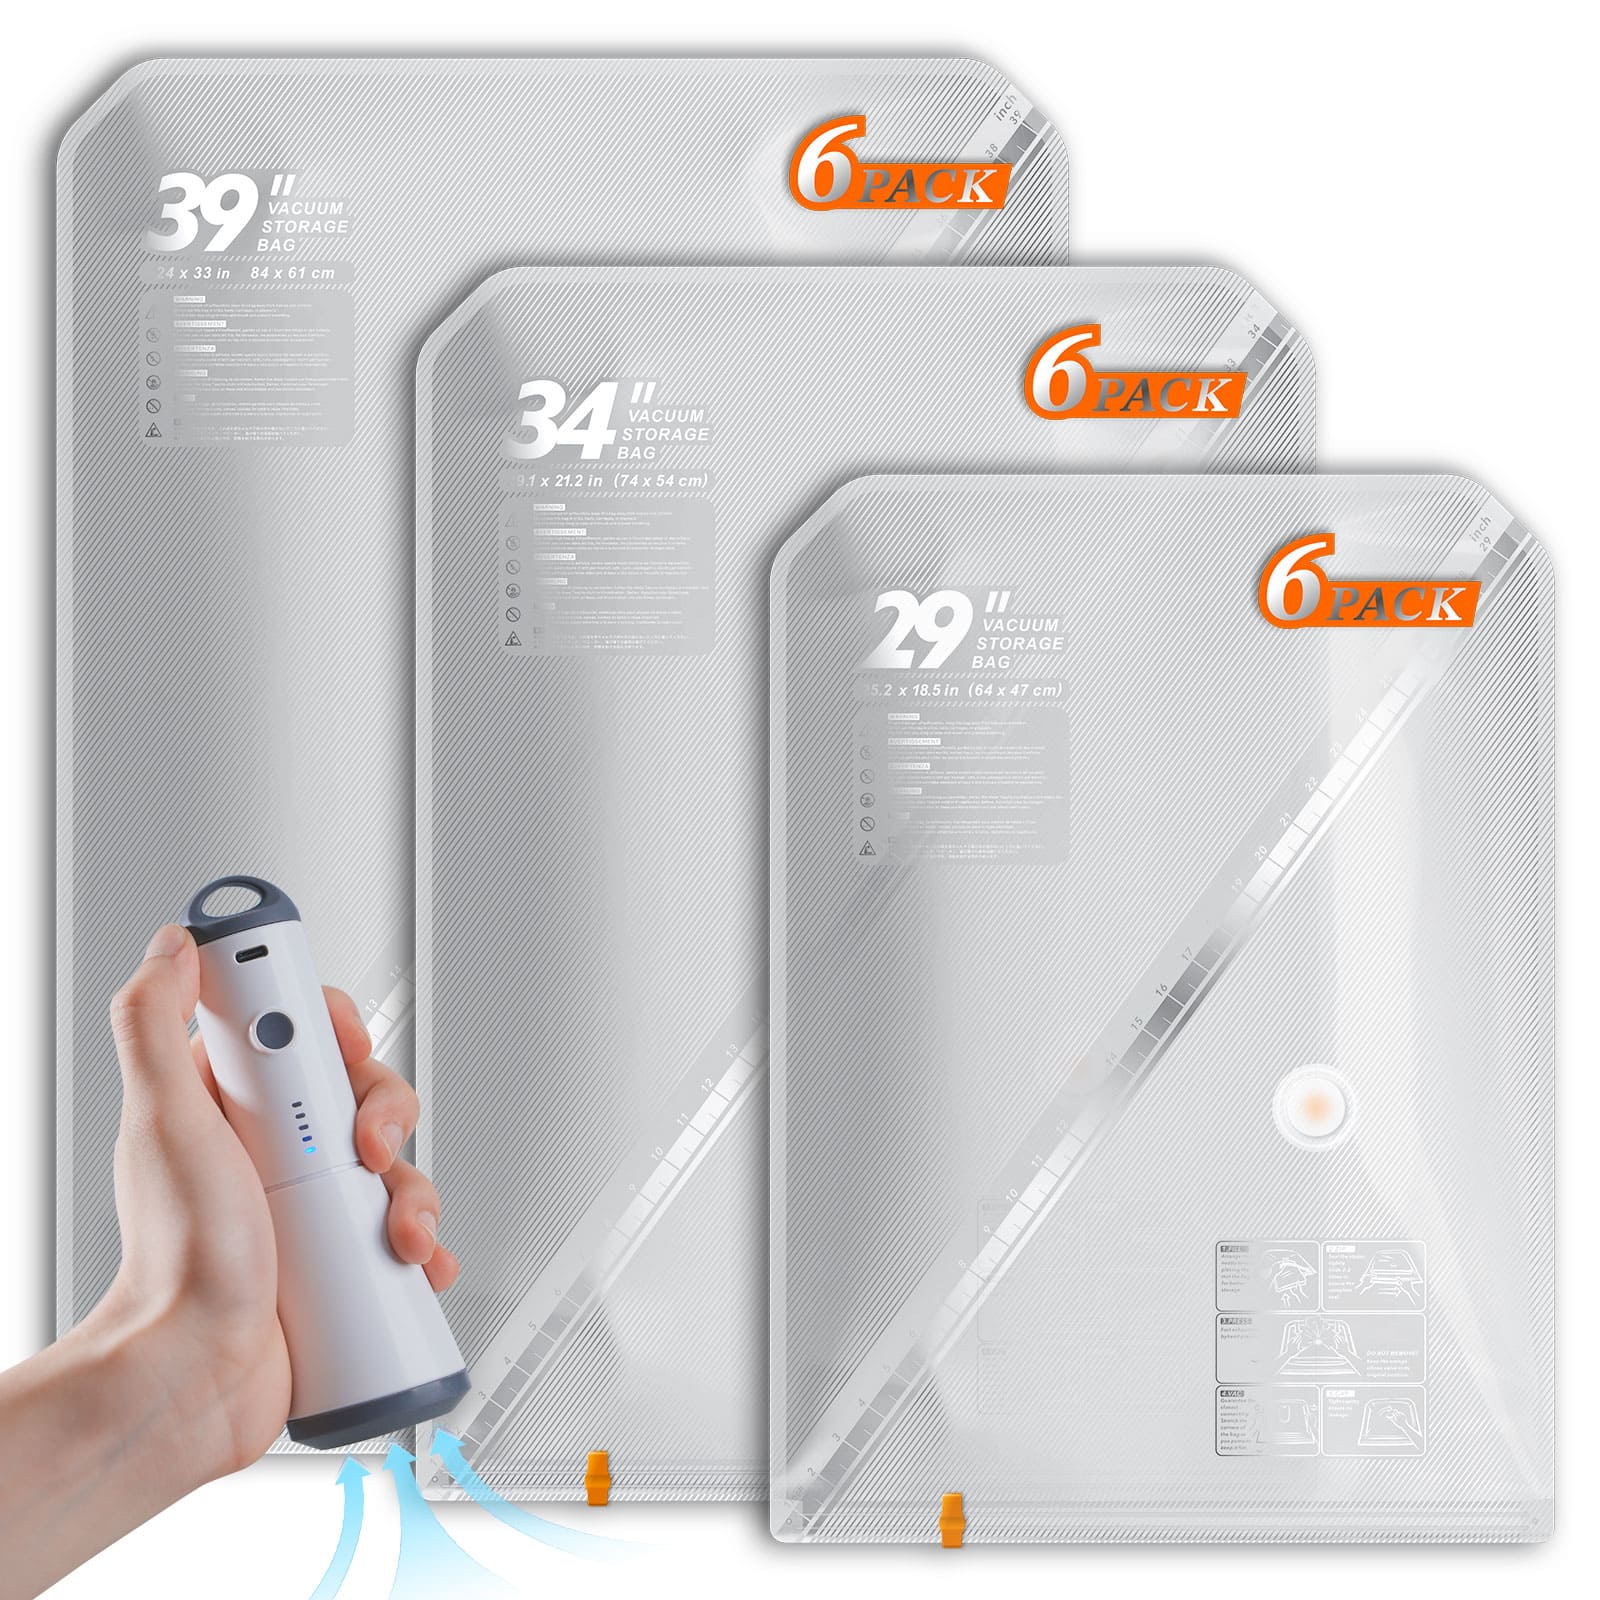
- Pack it inside a quality vacuum storage bag.
This habit gives me much better results during seasonal storage. My blankets stay fresh. My winter clothes stay clean. I also save plenty of storage space without worrying about opening the bag months later.
Once you understand this simple idea, the next question becomes very easy.
How do you actually know an item reaches absolute dryness before storage?
I cover eight simple tests that anyone can use at home in the next section. You require no expensive tools, but each one takes only a few minutes.
8 Simple Tests to Check Absolute Dryness Before Storage
I do not depend on one test anymore. I use two or three simple checks before I pack anything for long term storage. They only take a few extra minutes. That small effort saves a lot of disappointment later.
The Fold Test
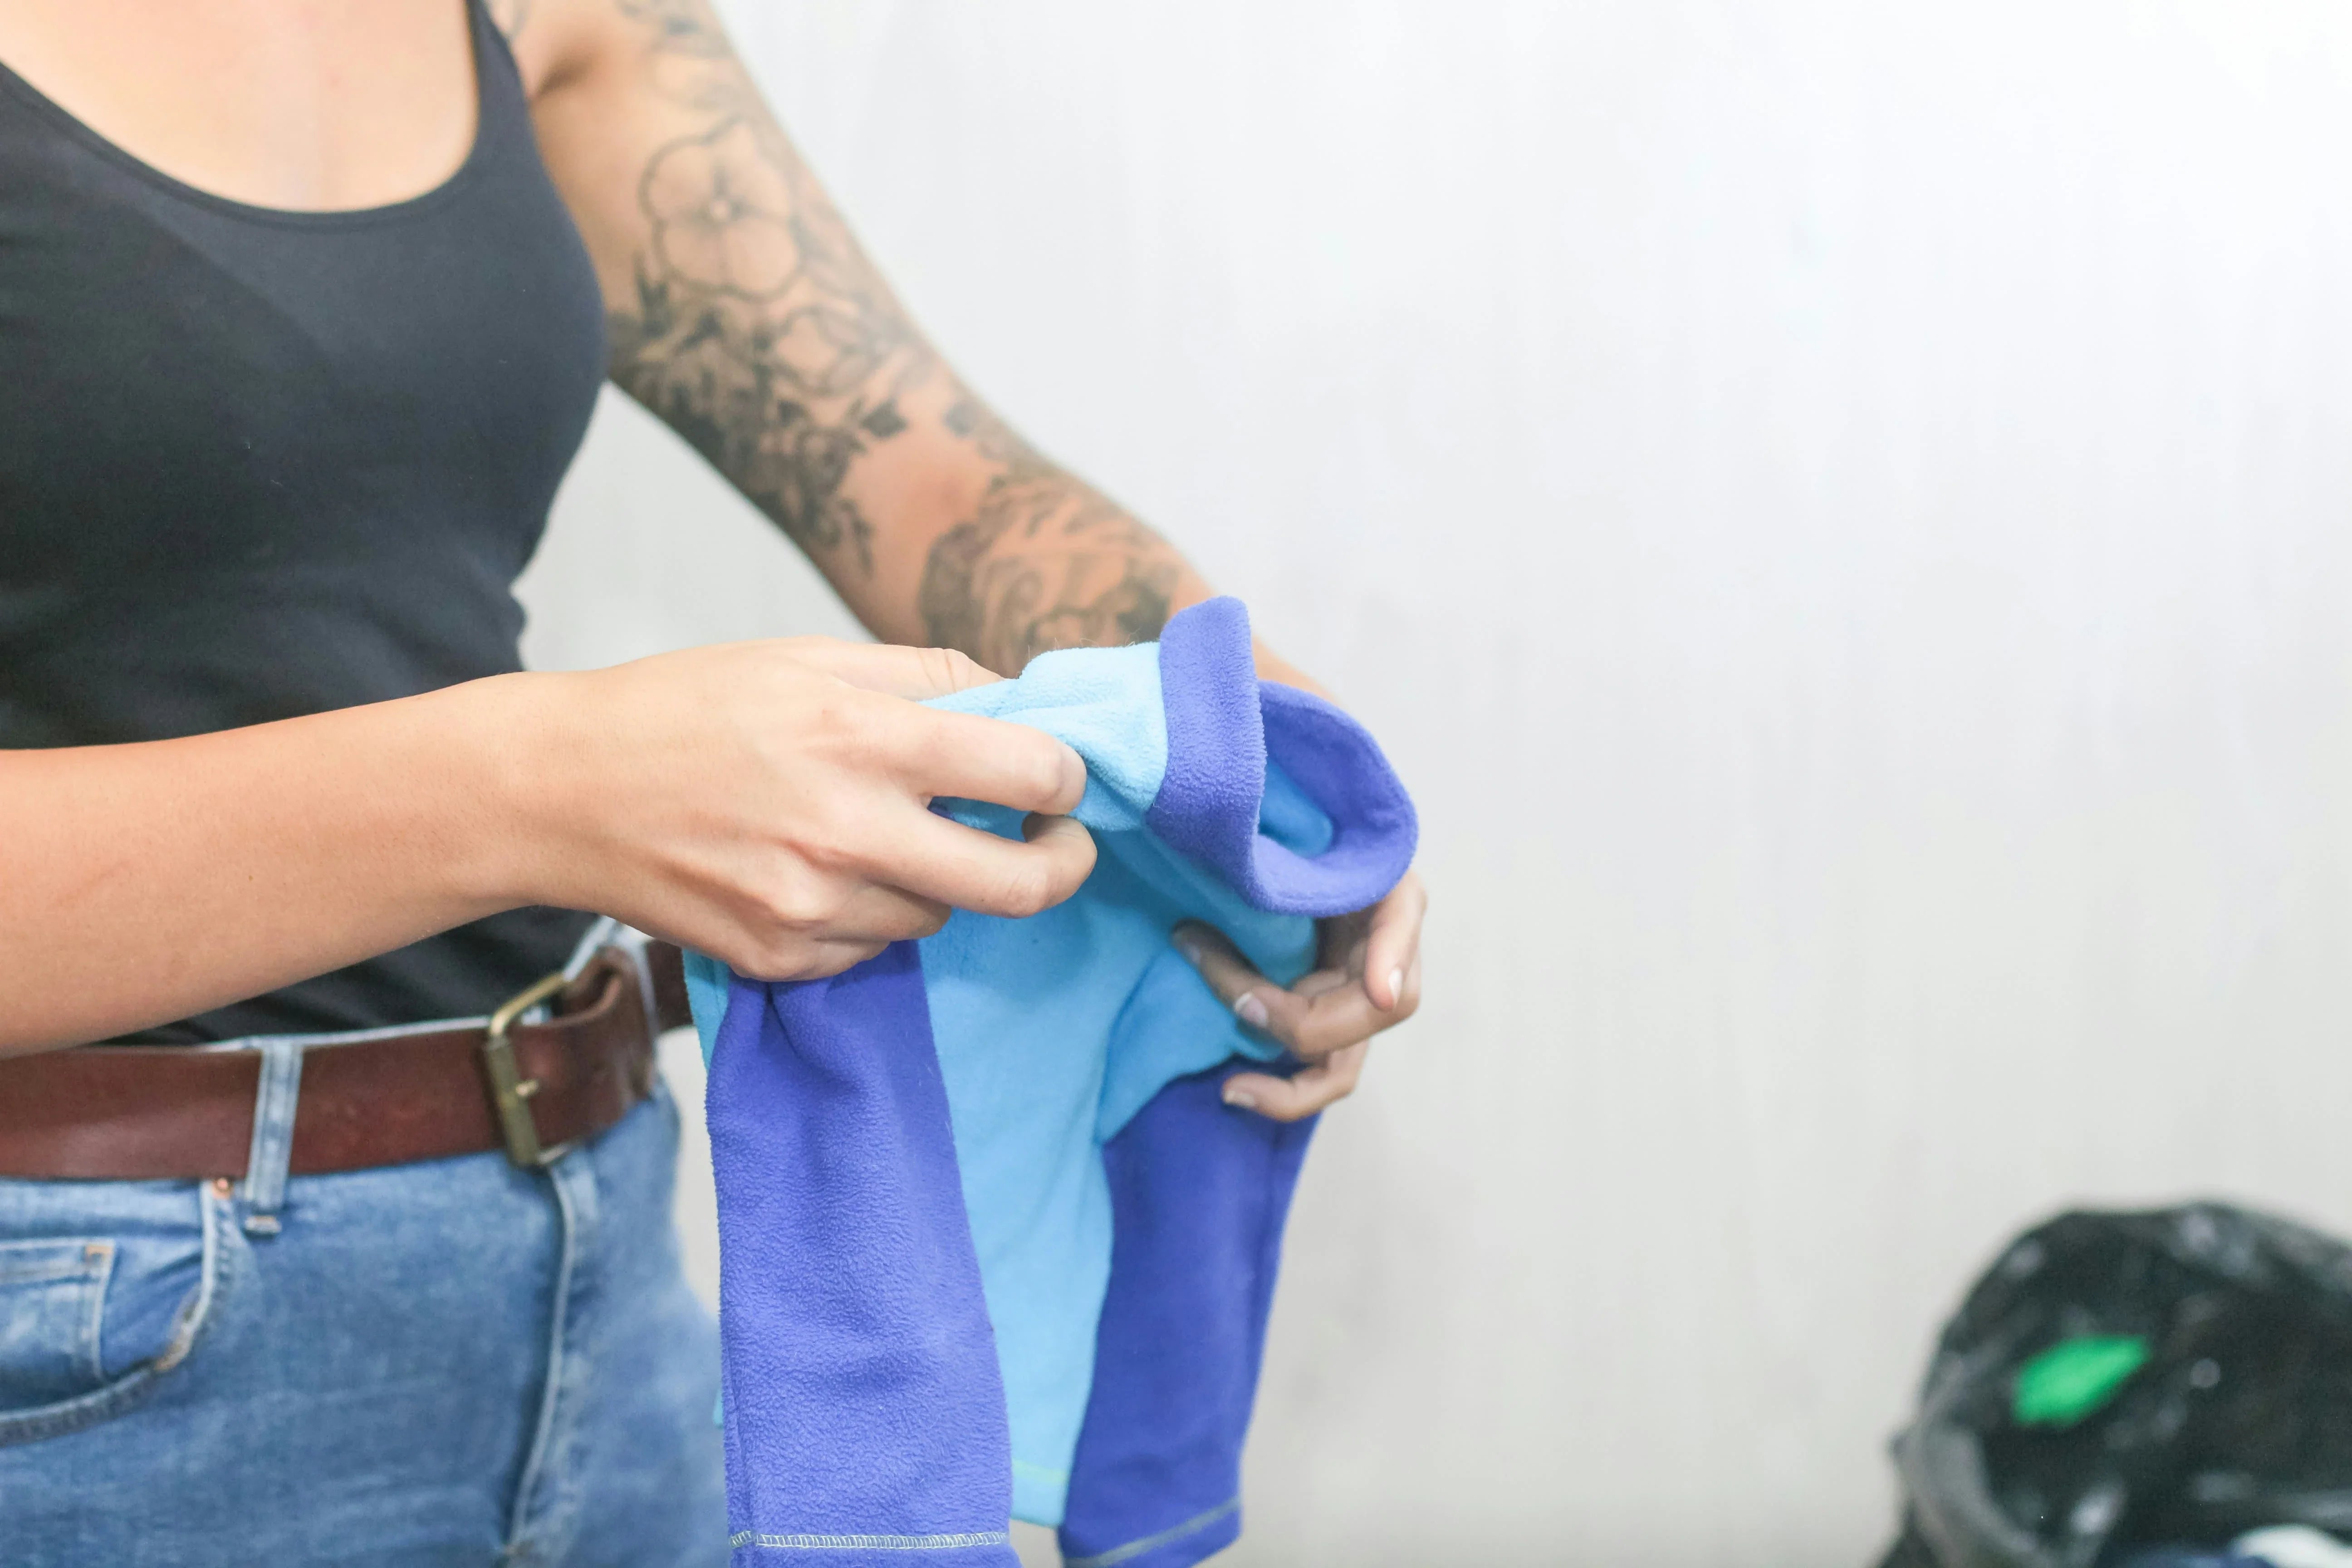
The simple test I use for my blankets, comforters, towels and hoodies is fold and check. You need to fold the item similarly to how you did before storing it. Leave it for ten to fifteen minutes. Then open it again and touch the inside of the fold instead of the outside surface.
A dry item feels the same all over. A cool or slightly damp feeling simply means moisture still hides inside the fabric. Let it dry for a longer time before storage.
The Tissue Test
This test helps me pick up any moisture hide inside thick seams and collars, cuffs, quilted areas and pockets.
Press a clean white tissue firmly against these spots for a few seconds. The tissue should stay completely dry. Any sign of moisture means the item needs more time.
I like this method because a tissue often picks up tiny amounts of moisture that your fingers miss.
The Cool Spot Test
Hidden moisture often creates cool areas inside thick fabric.
Run your hand over different parts of the item. Pay extra attention to padded sections and folded corners. Every area should feel the same.
One cool section usually means the whole item is not ready for storage.
The Smell Test
Your nose often notices a problem before your eyes do.
Bring the item close and take a slow breath. A fresh item smells clean and neutral. A faint musty smell often points to moisture trapped inside the material.
I never ignore that smell. A few more hours of drying usually solve the problem.
The Rest Time Test
Fresh laundry often feels warmer than the room. Warm fabric can fool your hands.
You have to lay the item flat or hang it in a room with good airflow for several hours after drying. Then come back later to check it again. This simple habit helped me avoid many storage mistakes.
The Weight Stability Test
This test works well for thick towels, blankets, pet bedding, and even dried herbs. You have to weigh the item on a household scale. Leave it to dry a little longer and weigh it again later.
A lower weight means moisture has recently left the fabric. Once the weight stays the same, you have a much better sign that the item reached absolute dryness.
The Glass Container Test
This method surprises many people because it is so simple.
You have to place a small corner of the fabric or a small sample inside a clear glass container. Close the lid and leave it for several hours.
Check the inside of the glass. Any tiny water droplets or fog tells you that moisture still remains.
Check Thick Areas One by One
Many people only touch the middle of a blanket or shirt. I always check the places that dry the slowest. These include
- Thick seams
- Collars
- Pockets
- Hoods
- Quilt lines
- Pillow edges
- Jacket padding
These areas often hold moisture long after the rest of the fabric feels dry.
Different Materials Need Different Dryness Levels
One mistake I made years ago was treating every fabric the same way. Now, it’s time for you to bring change to your habits.
|
Material |
Common Dryness Mistake |
Best Areas to Check |
Typical Dryness Time* |
|
Cotton clothing |
Assuming the whole garment is dry because the fabric feels dry |
Waistbands, collars, cuffs or thick seams |
2 to 6 hours |
|
Towels |
Checking only the surface |
Folded center and thick edges |
6 to 12 hours |
|
Blankets & comforters |
Trusting the outside while the filling stays damp |
Inner filling and quilted sections |
24 to 48 hours |
|
Winter jackets |
Forgetting the padded areas |
Sleeves, pockets, hood, insulation |
24 to 48 hours |
|
Pillows |
Feeling only one side |
Center filling and seams |
24 to 48 hours |
|
Canvas shoes & backpacks |
Ignoring the lining and inside |
Insoles, lining, corners, stitching |
24 to 72 hours |
Quick Tip
The thicker the material, the more careful your final dryness check should become.
Mistakes That Make Items Seem Dry When They Aren't
You make mistakes even before placing the items in the bag. Avoid them and stay happy
- Folding clothes too soon after drying. Let them cool and air out first.
- Checking only the surface instead of thick folds and inner layers.
- Skip checking seams, collars, cuffs and padding where moisture often stays longer.
- Dry the item in a room with poor airflow. This slows moisture removal.
- Packing items right after washing or drying without a final dryness check.
- Treating every fabric the same, as your thick blankets, towels and pillows need more drying time than thin clothing.
A Simple Absolute Dryness Checklist Before Storage
I keep this checklist in my mind every time I pack seasonal clothes or bedding. It only takes a minute to go through each point. That one minute gives me much more confidence before I seal any storage bag.
Before you store any item, ask yourself these questions.
- Does the surface feel completely dry?
- Do the seams, folds, and thick areas feel dry too?
- Does every part feel the same temperature?
- Does the item smell fresh with no musty odor?
- Did you let the item rest after drying?
- Did you check padded sections, collars, pockets, or quilted areas?
- Do you feel confident storing it for several months without opening it?
A single "No" means the item needs more drying time.
I never rush this final step anymore. A little extra patience saves you time and money. So, no more struggling with frustration later.
FAQs
Does vacuum sealing clothes prevent mold?
Not by itself. I like to think of a vacuum storage bag as protection, not a fix. Clothes need to go into the bag completely dry. Once that's done, the bag helps keep them clean and away from dust, insects and outside moisture. The real problem is the hidden moisture already inside the fabric. So do not blame the storage bag.
How can I prevent mold or odors when using vacuum storage bags?
My routine is pretty simple. I wash everything first and give it plenty of time to dry. Then check the thick areas one last time before packing. Towels, comforters, and jackets usually need extra attention. This little habit has saved me from opening a bag months later with a musty smell surprise.
Can something feel dry but still contain moisture?
Absolutely. Thick fabrics often dry on the outside first, when the middle stays slightly damp. That's common with blankets, pillows, towels and winter jackets. They may feel ready for storage even though they still need more drying time.
How can you tell if something is completely dry before storing it?
I never trust my hand alone anymore. It fooled me once. I always check the folds, seams, and thick parts of the fabric. Large items get a little extra time to air out before I pack them away. Spending another ten minutes now beats washing everything all over again later.
Conclusion
That's really all there is to it. The worst decision is the quick touch test, making the decision for you. Give your clothes and bedding a few extra minutes, make sure they're truly dry, then enjoy the space saving and protection that quality vacuum storage bags provide.