

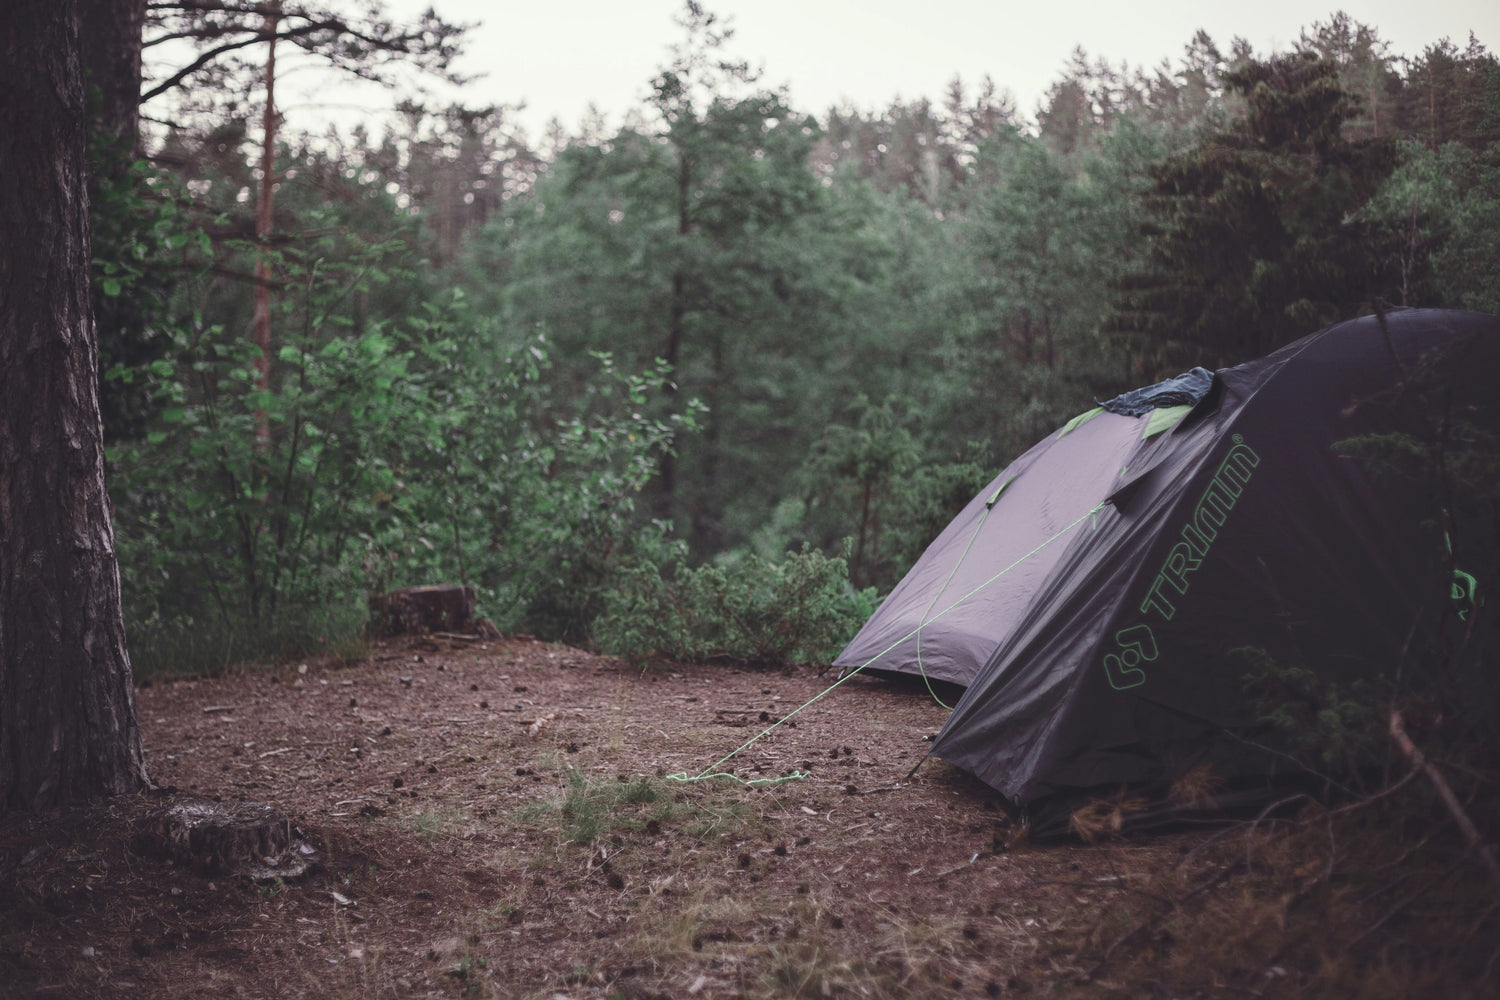
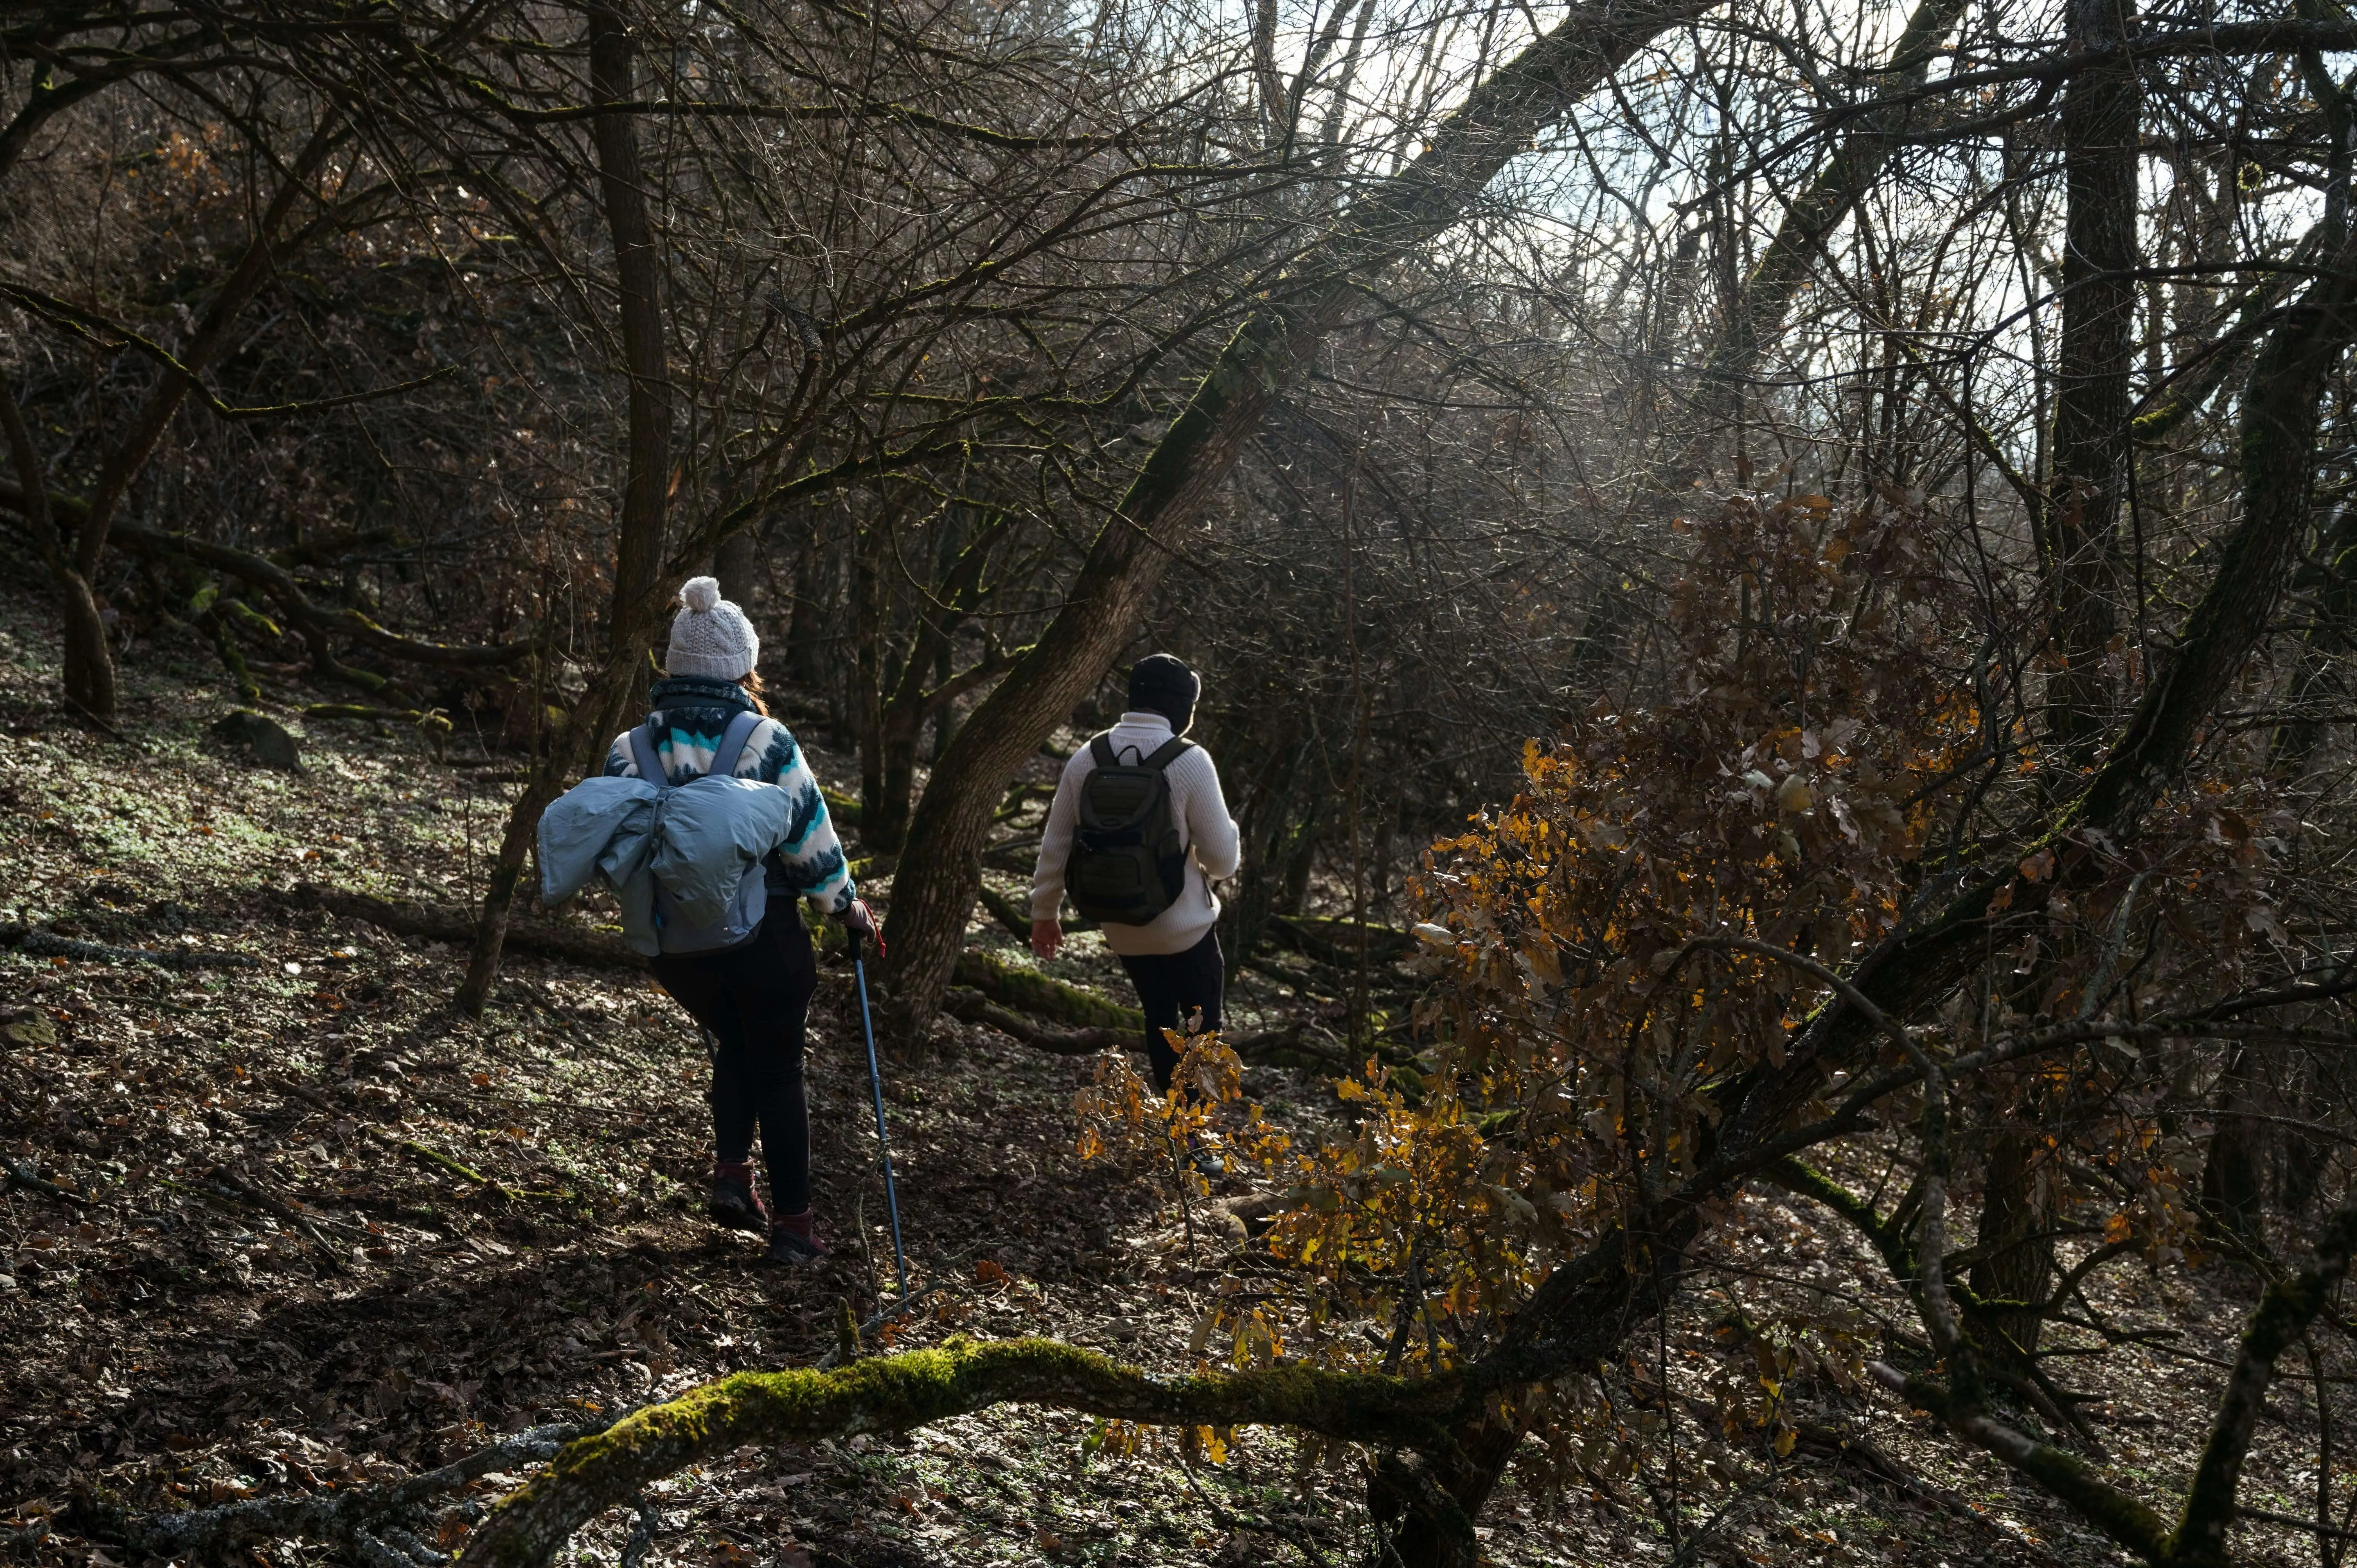
Camping is love, but it's also full of chaos. You can’t leave the adventurous journey just because you don’t know how to survive in a camp with less stuff, which is worse packed in the bags. I never forget the first night I camped in heavy rain. The clouds started rolling in quicker than I expected while parking the car. The downpour started even before I could finish setting up.
My tent cover struggled against the wind, and water began pooling near the entrance. The first thought that came to my mind is that all my things would get ruined by the rain, as had happened every other time. But this time I was lucky. When I reached into my backpack, I realized I had done one thing right, and that was I had packed everything in vacuum packing bags. I took out my clothes and sleeping liner, and surprisingly, they were all completely dry. Even my socks stayed dry in such heavy rain. That small choice saved my whole trip.
This post is my personal guide to staying dry during rainy camping trips using compression packing bags and a simple packing system. If you’ve ever wondered about things to pack for camping or how to keep them safe when rain’s a real possibility, I’ll walk you through my own routine, mistakes I avoided, and why I now never go camping without my VacBird bags.
The Types of Packing Bags I Used
People use different types of storage bags, and I also tested a few of them, but not all of them worked for me for camp packing.
Compression Packing Bags
These are bags that squeeze down soft items without removing air completely. They are soft sacks with straps or drawstrings that let you cinch down the contents. You pack your clothes or sleeping liner, then pull the straps to compress them. I used them for gear I needed often, like jackets. They made bulky items more manageable and saved space in my backpack.
Pros:
- Simple, no pump required
- Lightweight
- Quick to open
- Good for items you’ll reuse or access often
-
Bets for
⁜ Mid-layers
⁜ Sleeping liners
⁜ Rain jackets
Cons:
- Not always 100% waterproof. Many options are just “water-resistant,” which is why I kept them inside a dry sack.
- Less compression than vacuum bags
Vacuum Packing Bags
These bags include a valve that you attach a pump or vacuum to, pushing out all air and forming a tight seal. Because of that seal, they block moisture better than standard compression sacks.
These became my main defense against rain. I used VacBird vacuum bags, which pull out all the air with a pump, leaving clothes flat and sealed.
How to use them
- Neatly fold or roll your clothes to reduce bulk.
- Place items into the vacuum bag. Don’t overfill past the fill line.
- Seal the zipper or closure tightly (run your fingers along the edge).
- Attach a pump or vacuum to the valve, and suck air out until compressed.
- Close the air valve securely.
These bags work best for camping because they don't allow moisture and humidity enter the bag. Some fellow travelers highlight that vacuum bags act as waterproof shells around your gear.
Pros
-
Best for
⁜ Clothes
⁜ Socks
⁜ Spare towels
⁜ Blankets - Airtight protection
- No bug entrance
- No moisture entrance
- Keep things totally dry
- No mold growth
Cons
- Don’t seal damp items, or they’ll smell when you reopen them.
By combining both types, I had a system: vacuum for storage, compression for daily access.
Dry Bags or Waterproof Sacks for Outer Protection
These are rugged bags that keep outside water from reaching your compressed or vacuumed gear. Think of them as a final shield. Many dry bags use roll-top closures and welded seams so water can’t penetrate.
In practice, I combine vacuum bags inside a dry bag for double defense.
What to Pack for Camping When It Might Rain
I’ve learned to pack differently depending on the weather forecast. Here’s my rainy-day list of things to pack for camping with a compression/vacuum strategy, plus how I bagged each one.
- Clothing layers: base, mid, rain shell
- Pack base + mid layers inside a vacuum bag
- Keep a rain shell in a compression bag or ready-access dry sack
- Socks & quick dry clothing in separate vacuum bags, small size so I could swap daily
- Vacuum-seal them to keep them dry and compact
- Sleeping quilt / liner / blanket
- Use a compression sack (if the material is delicate) or a vacuum bag if the item tolerates it
- Electronics (camera, phone, chargers)
- Wrap in a small vacuum bag inside a dry sack
- Use a lightweight compression bag for quick deployment of poncho and gaiter-type rain gear
- Vacuuming Towels, gloves, and hats helps free space
- Use dry bags so water can’t seep in and ruin first aid, tools, and cooking items
Each item gets its “home” inside your pack
- vacuum bags for bulk items
- compression for gear you’ll use mid-trip
- Dry sacks on the outside
My Rainy Day Camping Story
I was on my camping trip when I saw clouds gathering one evening. The rain started and forgot to stop, and water seeped under my tent floor by midnight. My backpack sat near the corner, and I thought I had lost everything. But no, I had saved many things, all because of vacuum packing bags. When I opened it, I realized the clothes were as dry as when I had sealed them. I achieved this by doing the following things.
- My fleece jacket, packed in a VacBird bag, was flat and dry.
- Extra socks remain warm and moisture-free.
- Even my towel felt freshly packed.
- I had packed all the clothing and liners into VacBird Turbo X8 vacuum packing bags before departure.
- I placed those vacuum bags inside a large dry sack under the tarp.
- I kept my rain jacket in a compression bag on top, since I needed quick access.
- When heavy showers came, I dug into the compression bag, put on shell gear, then zipped shut and left the vacuum bags untouched.
I forgot to seal a few things, like my notebook. What outcome did I get? Soggy notebook and other items. That taught me quickly which items always deserve protection.
Another fear was the thought that one of my seals might fail. So I checked midnight with a flashlight—still airtight, no dampness. I slept peacefully. My bag’s structure hadn’t puffed in the morning with no soggy mess.
Using simple packing sacks may make my mid layers soaked. Even using vacuum bags alone couldn't provide outer protection. It was the combo of both that saved me on my camping trip during the rain.
Why I Picked VacBird Turbo X8
The market has many options, and that’s why I have tried a few brands, but the benefits that the VacBird Turbo X8 vacuum packing bags bring that no other bag can. They’re tough and simple to use, and the best thing is that I trust them in the rain.
What Makes Turbo X8 Best Among Others
- Strong multi-layer material that doesn’t tear easily
- A reliable valve that doesn’t leak once sealed
- Works with a simple rechargeable vacuum pump that comes with the set
- Reusable for multiple trips
- Easily handle the harsh conditions
I used them during packing for my camping trip. It makes my items tightly packed in the bags, which look almost like flat bricks in my pack. They saved me at least half the space, exactly like a part of my survival kit.
How I Use Turbo X8 in My Packs
Here’s a daily pattern I used:
- Pre-trip: I placed all my clothing, liners, extra socks, and towels into Turbo X8 bags and vacuumed them.
- Inside pack: I slid those vacuumed packs into the lower half, where they form a rigid block.
- Top/outer layers: I placed the rain shell, mid layer, and first aid in a compression bag so I could reach them quickly.
- Outer protection: The entire stack went into a large dry sack under my rain cover.
At camp, if I shift gears, I rarely open Turbo X8 bags. I only open my compression bag for active layers. The best part was that when I pulled out my clothes perfectly dry, other campers hung wet clothes on branches.
How It Performed
- I estimate I reduced gear volume by ~50–60 %
- No damp items inside despite rain holes, puddles, and wind
- No leaks or seam failures after two rainy days
One tip from my experience is to always keep an extra small dry sack. I used to take waterproof SealEase compression bags to keep items fresh and clean in case my vacuum bag gets punctured. It helps you to move contents quickly if anything bad happens to your vacuum bags.
Best Practices I Learned & Mistakes I Avoided
Using vacuum packing bags seems easy, but from my last camping trip, I learned some practices that helped me avoid mistakes. Here are a few of them:
- Always double-check your seals before leaving camp
- Don’t overfill vacuum bags and leave a little headspace
- Clean the valve area of lint or dirt before sealing
- Don’t compress fragile items (wood, rigid plastic)
- Re-seal mid-trip if rain increases
- Store heavy items low so the vacuum bag block stays stable
- Keep one small compression bag ready with items you’ll grab often (rain jacket, poncho, flashlight)
- Test your gear in dry runs before trusting it in a full storm
One time, a friend overfilled his vacuum bag, and it popped a corner seam. Since then, I always leave an inch of free space before sealing. Another mistake I avoided is vacuum-sealing wet clothes. That ruins fabric and voids the seal. Always dry before sealing.
Quick Reference: Rainy Camping Bag Checklist
Below is a compact checklist for packing smartly when rain is expected:
|
Item / Gear |
Bag Type |
Notes |
|
Clothing & layers |
Vacuum (Turbo X8) |
Fold neatly; keep under fill line |
|
Sleeping liner/blanket |
Compression or vacuum |
Use compression if the fabric is delicate |
|
Towels |
Vacuum bag |
|
|
Rain shell or outer gear |
Compression bag |
Easy access mid-trip |
|
Electronics or chargers |
Vacuum inside the dry sack |
Dual protection |
|
Spare socks or quick-dry items |
Vacuum |
Keeps them dry and compact |
|
Outer cover |
Dry sack |
Shove the vacuum/compression inside |
Follow this, and you’ll have dry gear even if the weather turns ugly. Before leaving, just do the following:
- Check all seals
- Shake bags to detect hiss (leak)
- Pack heavy items low for stability
FAQs
Can I use vacuum packing bags without an electric pump during travel?
The compression bags have air valves that allow air to escape when you roll the bag by hand. One such example is SealEase compression bags, which don't require an electric pump for removing air during travel. This makes them perfect for outdoor trips.
Are compression packing bags for travel only for clothes?
Compression bags are perfect for clothes, but they can easily accommodate blankets and jackets. Other soft materials like towels and sleeping bags are also good to pack in compression bags as they are easy to compress without any damage.
Do packing compression bags protect clothes from getting wet?
Absolutely. Compression bags are water-resistant, which doesn’t allow water from entering the bags and ruining clothing. No more problems with rain and accidental spills during a hike.
Conclusion
Camping in the rain is always scary for me as I am one of those people who believe in enjoying the outdoors irrespective of rain. Soggy gear and damp socks just bring frustration. But after that first trip with vacuum packing bags and compression packing bags, I realized I could outsmart the weather. Even a heavy downpour doesn’t ruin the adventure when you have the right packing compression bags and a smart system.
If you’re planning your next trip and wondering what to pack for camping, I recommend investing in strong bags like the VacBird Turbo X8. They saved me once and are good enough to act as part of your defense against the weather.

Leave a comment
This site is protected by hCaptcha and the hCaptcha Privacy Policy and Terms of Service apply.