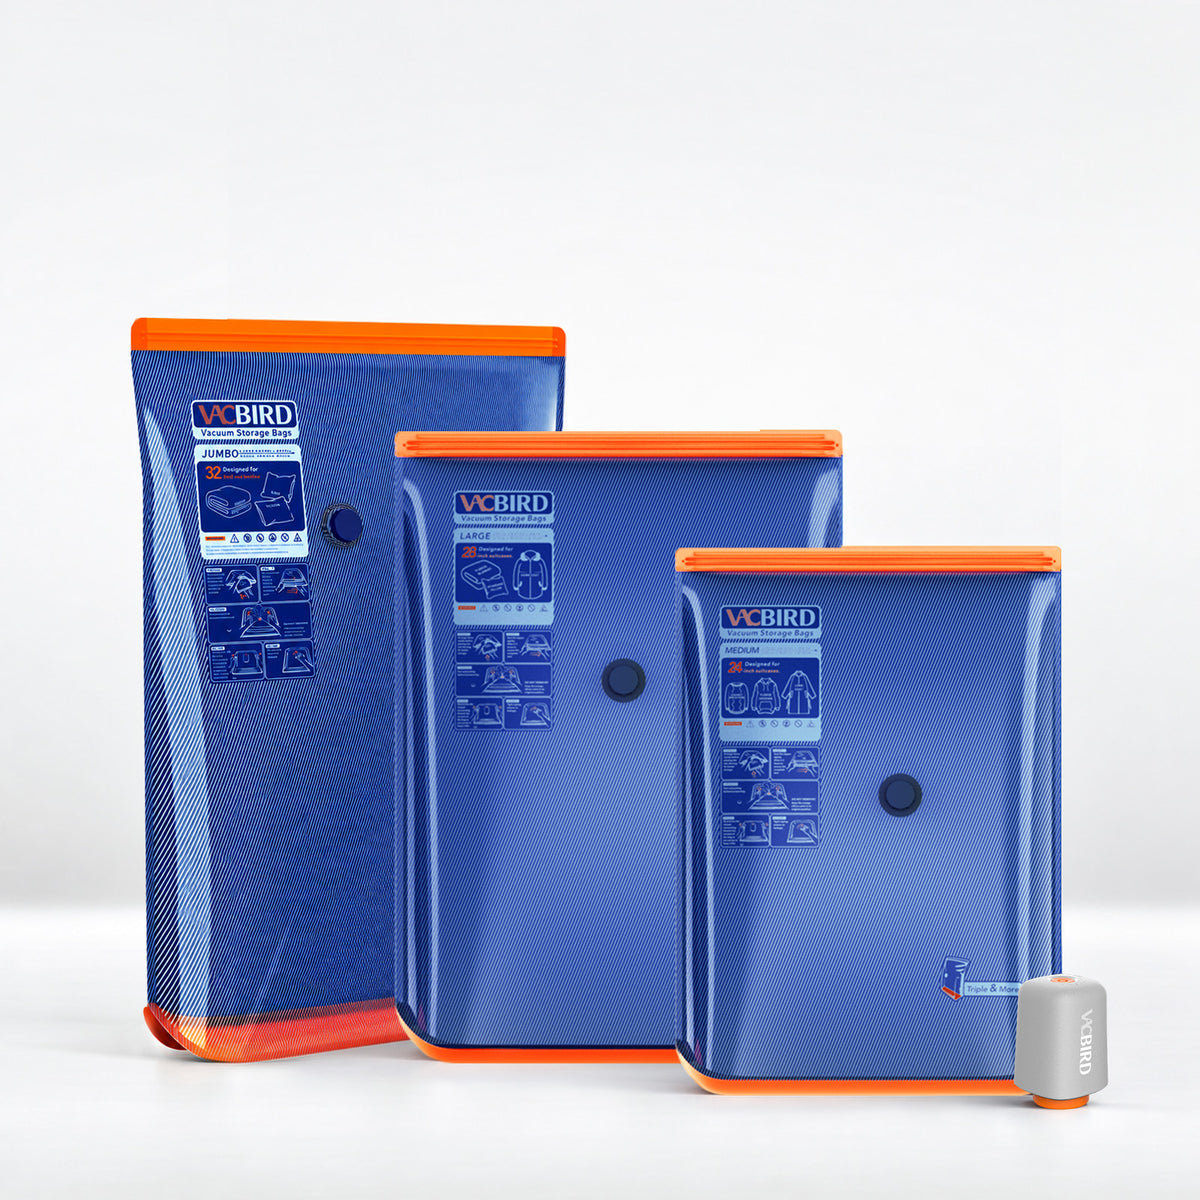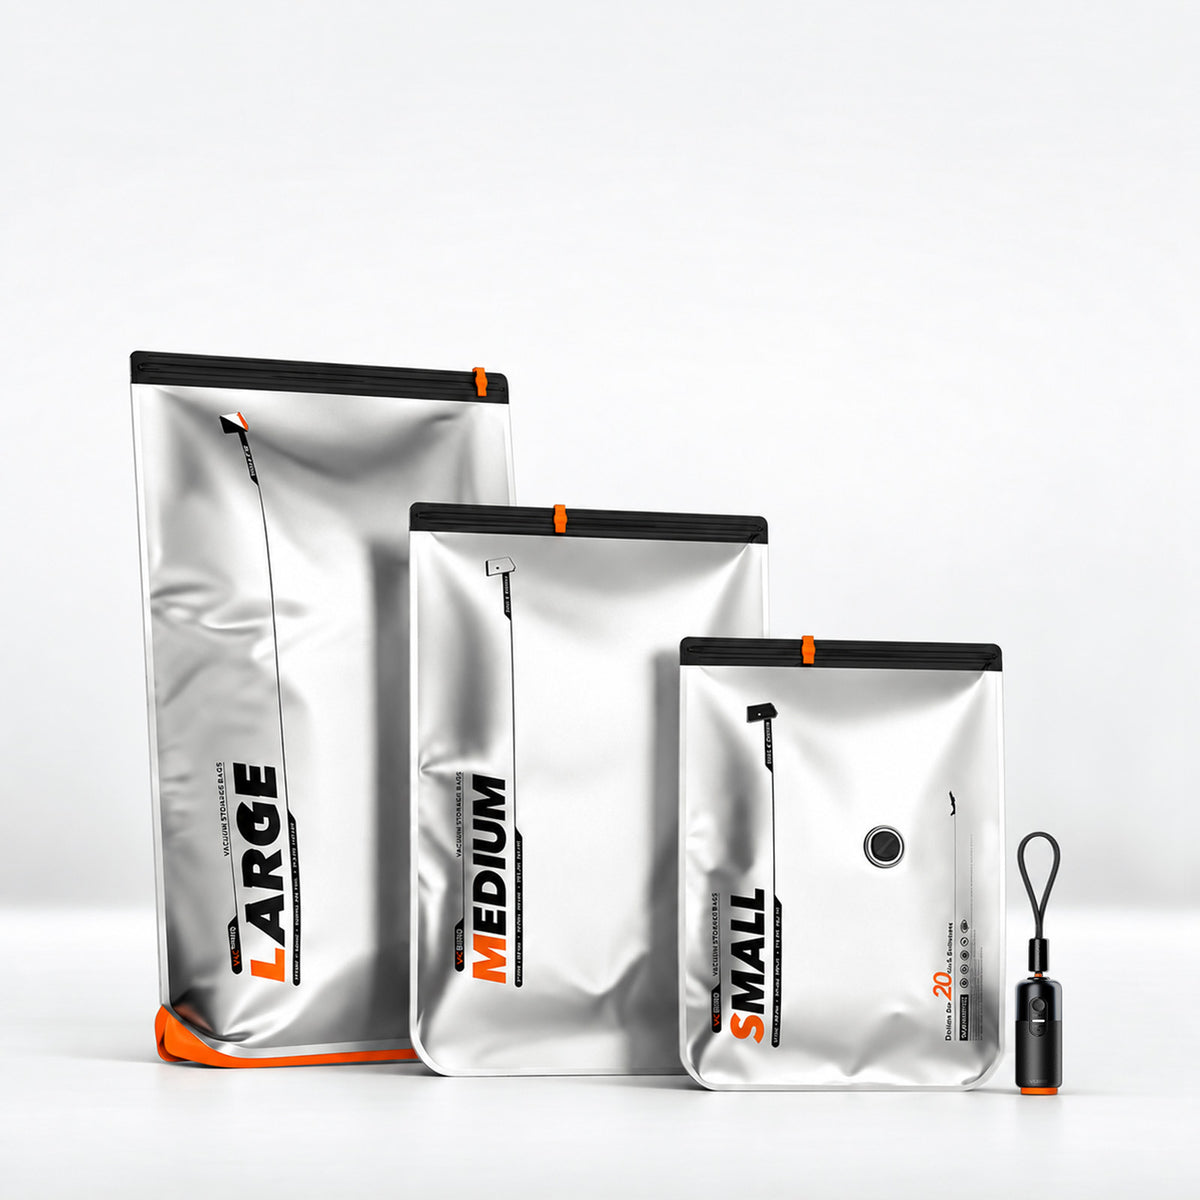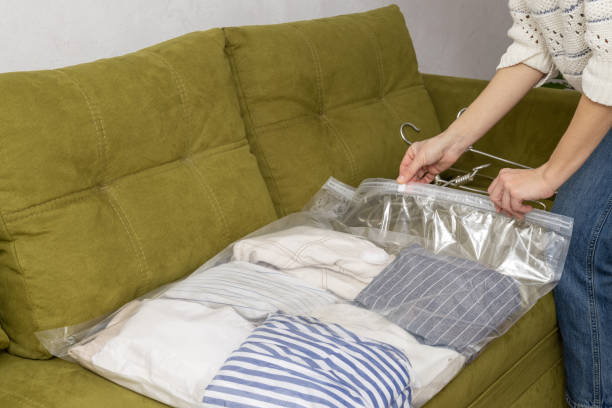
You probably do not stop using a vacuum storage bag just because you have opened it once. You take the clothes out, fold them again, and put the bag back into storage for another use. This test looks at two things that matter most.
We don't give one fixed number. We will look at the parts that take the most stress and the signs that show real wear.
The goal is simple. Find out how a vacuum storage bag performs through repeated opening, filling, sealing, compression, and storage. That gives you a more useful idea of bag life than a number based only on time.
What Actually Makes a Vacuum Storage Bag Wear Out?
A vacuum bag does not depend on one part alone. The plastic, closure, valve, edges, and daily handling all affect its useful life. A problem in any one of these areas can cause air loss and reduce compression.
The Plastic Body
First comes the material of the bag. The plastic of the bag takes pressure each time whe you put fluffy clothes in it and apply compression through the pump. Repeated folding may also create creases in the same areas. Though it’s advisable to keep these bags away from sharp-edged things, people often neglect this point, which causes sharp corners on shoes, buckles, or other hard items to cause small punctures that grow with use.
We checked the bags for these signs of wear:
- Fine cracks or small holes
- Permanent deep creases
- Areas that feel thin or weak
- Plastic that feels stiff or brittle
- Stretching around heavily packed areas
A small mark did not automatically mean the bag had failed. We looked at whether the damage affected sealing, compression, or the bag’s ability to hold the vacuum. Replacement is required when the bag refuses to seal and fails to hold the vacuum.
The Zipper or Seal
The closure plays a major role in airtight storage. Each opening and closing cycle puts some stress on the seal. Dirt around the closure can also stop it from closing fully.
A healthy seal should close across its full length and keep air out after compression. A bag that slowly expands after sealing may have a closure problem even when the plastic looks fine.
The Valve
The valve handles air removal and compression. The bags with a one-way valve don't let air enter the bag again. It helps the bag stay compressed after pumping. For repeat use, you have to attach the pump again and again to the valve.
Attaching so many times may sometimes cause issues. It's better to check the pump connection and the valve area during each test. The pump should remove air without unusual difficulty. After removal, the valve should help the bag keep its compressed shape.
The Corners and Edges
Corners often take more stress than the flat sections of a bag. Packed contents push outward while folding and handling can place extra pressure on the edges.
This matters when you reuse a bag often. A bag may show little wear across the center while a corner starts to develop a weak point.
The Durability Test: What We Put the Bags Through
We tested the bags through the type of handling they normally receive during packing and storage. The test focused on the parts we had already identified as possible wear points, including the plastic body, zipper, valve, corners, and edges.
We started with regular clothing and soft household items. These items gave us a realistic load without adding unnecessary damage from sharp objects. Each bag went through the same basic process so we could compare its condition after repeated use.
Filling and Sealing the Bags
We filled each bag with the selected items and checked the plastic around the packed contents. We paid close attention to areas where the contents pressed against the bag.
Next, we closed the zipper across its full length. We checked the seal before connecting the pump. A proper closure matters at this stage, since a small opening can affect the result of the whole compression test.
Removing the Air
We connected the pump to the valve and removed the air until the contents became firmly compressed. We watched how the bag responded during this step.
A bag that compresses normally should not need unusual effort during air removal. We also checked the area around the valve for signs of stress or movement.
Once the air left the bag, we checked whether the compressed shape remained stable. This gave us the first reference point for later reuse cycles.
Opening and Repacking
After the first compression test, we opened the bags and removed the contents. We then checked the plastic, zipper, valve, corners, and edges before using the bags again.
We repeated the same process rather than changing the load or handling method between cycles. This helped us focus on changes caused by repeated use instead of differences in how the bags were packed.
What We Checked After Each Test
After each cycle, we looked for both visible damage and changes in performance.
- Small holes or cracks in the plastic
- Deep or permanent creases
- Changes around the zipper
- Damage near the valve
- Weak spots around corners
- Trouble removing air
- Loss of compression after sealing
- Changes in the overall shape of the bag
A bag did not fail simply because it showed a small mark. The important question was whether the damage affected its ability to seal, compress, and hold the vacuum.
The Reuse Test: Can the Same Vacuum Bag Really Be Used Again?
The reuse test followed the durability test closely. We didn't consider the first successful compression as the final result. We opened the bags and put them through another packing cycle.
This matters because repeated opening and closing creates a different type of stress than the first use. The zipper gets handled again. The valve receives another pump connection. The plastic folds and changes shape as the contents come out and go back in.
We checked the same areas after each reuse cycle. This helped us see whether a bag continued to perform normally or started showing signs that could affect its useful life.
Checking the Seal After Reuse
The first thing we checked after reuse was the seal. A bag may look perfectly fine while losing air slowly through a weak closure.
We closed the zipper again and removed the air using the same process. After compression, we watched for changes in the bag's shape.
A bag that holds its compressed shape gives a different result than one that starts expanding soon after pumping. That difference matters more than a simple visual inspection.
Checking the Valve After Repeated Pumping
The valve also received repeated use during the test. Each compression cycle required another connection between the pump and the valve.
We checked the connection area for visible damage and watched how the valve responded during air removal. We also checked whether the bag continued to hold its vacuum after the pump disconnected.
This part of the test helps show why the valve deserves attention when judging vacuum bag durability. A strong plastic body cannot compensate for a valve that no longer maintains the seal.
Checking the Bag After Repeated Opening
The final part focused on the bag as a whole. We removed the contents, folded and handled the empty bag, then prepared it for another cycle.
We looked for changes that did not appear during the first use. Small creases may remain harmless. A growing crack, hole, or weak area presents a different result.
The test therefore looks at repeated use, not just the number of times a bag opens. The real measure of reuse comes from whether the bag still performs its main job after that handling.
What Happened After 100 Compression Cycles?
The three VacBird bags completed 100 full compression and decompression cycles without a puncture, seam blowout, or complete loss of function. The bags did show visible changes as the test progressed, especially around the plastic body and bottom corners.
During the first 45 cycles, the PA+PE film stayed flexible and easy to handle. The Medium bags took around 35 seconds to reach full compression with the USB pump. The bags also returned to their normal shape after decompression without obvious damage.
The next 45 cycles brought more visible wear. Sharp white crease lines appeared where the plastic folded around stiff garment seams. This did not stop the bags from compressing, though it made manual air removal before pumping a little harder.
By Cycles 91 to 100, none of the three bags developed a visible puncture during the test, and the main plastic wall continued to hold air.
|
Test stage |
Main observation |
|
Cycles 5–30 |
Flexible plastic with little visible wear |
|
Cycles 31–60 |
White crease lines |
|
Cycles 61–90 |
Heavy micro creasing with no punctures |
|
Cycle 60 onward |
Visible stress marks around bottom corners |
|
Cycle 100 |
Bags remained functional |
This difference matters when judging reuse. A bag does not automatically reach the end of its useful life once it starts looking worn. The important point is whether the wear affects sealing, compression, or vacuum retention.
How Well Did the Bags Hold Their Vacuum?
Vacuum retention produced one of the most useful findings in the test. When the zipper tracks stayed clean, the bags remained tightly compressed for seven days.
The test also showed that a vacuum storage bag can appear to have a leak when the real problem comes from the zipper area.
One Medium bag expanded by around 40% within 18 hours during Cycle 44. We inspected the bag and found fine fleece fibers and static dust caught between the dual zipper tracks. The plastic body had no visible puncture, and the valve remained intact.
We cleaned the inner zipper track with a damp microfiber cloth and sealed the bag again. The bag then returned to full vacuum retention.
This result showed why zipper maintenance matters during repeated use. A small amount of lint can create a gap that allows air to enter even when the rest of the bag remains in good condition.
What Changed in the Zipper and Valve?
The zipper continued to work throughout the 100 cycle test, though it became more demanding with repeated use.
The dual track collected lint and dust easily. By Cycle 62, the slider no longer moved as smoothly as it did during the first few cycles. A second pass with firm thumb and forefinger pressure helped create a reliable seal.
The small sealing clip also needed careful handling. Pulling it too quickly or forcing it beyond the end of the track could cause the clip to pop off. It could be snapped back into place, though this added another maintenance point during repeated use.
The valve showed fewer changes. Its silicone seal remained firm throughout the test. The main issue involved the pump connection. The mini pump required steady pressure against the valve during air removal.
The main findings were:
- Zipper: Still functional after 100 cycles
- Zipper track: Became less smooth by Cycle 62
- Valve seal: Remained firm
- Pump connection: Needed steady pressure during evacuation
This means the valve itself did not become the main wear point during these 100 cycles. The zipper needed more attention than the valve, especially when dust or fabric fibers entered the track.
What Happened to the Plastic and Corners?
The main plastic body showed heavy micro creasing after repeated compression. These marks became more noticeable during the final 10 cycles.
The most important change appeared around the bottom corners. By Cycle 60, the folds near the welded edges showed visible white stress marks. These marks came from repeated folding and movement of the packed clothing inside luggage.
The corners did not leak during the test. They did, however, show more stress than the flatter sections of the bag.
|
Area tested |
Condition after 100 cycles |
|
Main plastic body |
Heavy micro creasing |
|
Punctures |
None observed |
|
Bottom corners |
White stress marks from Cycle 60 |
|
Welded edges |
No seam blowout |
|
Air barrier |
Remained functional |
The test also showed a difference between appearance and function. The plastic looked considerably more worn by Cycle 100, though the bags still compressed and held their vacuum.
This does not mean every bag will reach 100 cycles in the same condition. Load weight, sharp objects, storage conditions, folding habits, and zipper care can all change the result.
What Did the Pump Performance Show?
The USB electric mini pump made repeated compression easier than manual pumping, though larger loads took noticeably longer.
|
Bag and load |
Approximate evacuation time |
|
Medium bag |
35–45 seconds |
|
Large bag with bulky puffer jacket |
2 minutes 15 seconds |
The difference came mainly from the amount and type of material inside the bag. Bulky clothing leaves more trapped air and takes longer to flatten than lighter garments.
When Should You Stop Reusing a Vacuum Storage Bag?
The 100 cycle test did not produce a single point where every bag suddenly failed. Instead, it showed several signs that matter more than the number of uses alone.
Check the bag carefully when you notice:
- A zipper that no longer seals properly
- Air loss that continues after cleaning the zipper track
- A damaged or loose valve
- Punctures or cracks in the main plastic
- Tears around corners or welded edges
- Deep creases that have created weak points
- Repeated failure to hold compression
A dirty zipper should not automatically mean the bag needs replacement. The Cycle 44 incident showed that cleaning the track restored the seal.
The same approach does not apply to a puncture or damaged valve. Physical damage that affects air retention can make continued reuse impractical.
The test therefore supports judging bag life through condition and performance rather than assigning one fixed number of uses.
What Does This Test Tell Us About VacBird Bags?
The test showed that VacBird bags handled 100 complete compression and decompression cycles without losing their basic function. The PA+PE body developed visible creasing, and the bottom corners showed stress marks by Cycle 60. Neither issue caused a leak during the test.
The zipper needed the most attention. Lint and static dust caused the only major air retention problem during the 100 cycles. Cleaning the zipper track restored the seal.
The overall findings can be summed up simply:
|
Component |
Test result |
|
Plastic body |
No punctures after 100 cycles |
|
Zipper |
Functional but needed more care |
|
Valve |
Remained functional |
|
Corners |
Stress marks appeared by Cycle 60 |
|
Vacuum retention |
Strong with clean zipper tracks |
|
Reuse |
100 cycles completed successfully |
|
Pump |
Effective but slower with bulky loads |
The results show that repeated reuse is practical when the bags receive basic care. Clean zipper tracks, careful handling of the sealing clip, and regular checks around the corners can help prevent small problems from becoming larger ones.
FAQs
How many times can vacuum storage bags be reused?
The tested VacBird bags completed 100 compression and decompression cycles without structural failure. The test does not establish a maximum lifespan, since actual bag life depends on load, handling, storage conditions, and maintenance.
Why did one bag lose its vacuum during the test?
One Medium bag expanded during Cycle 44 because fleece fibers and static dust became trapped between the zipper tracks. Cleaning the track restored the seal and returned the bag to full vacuum retention.
Do vacuum bags become damaged after repeated use?
Repeated use caused visible micro creasing and stress marks around the corners during this test. However, the three bags remained functional through 100 cycles with no punctures or seam blowouts.
Conclusion
This test did not give vacuum storage bags one fixed lifespan. It showed what actually happens as a bag goes through repeated use. After 100 compression and decompression cycles, the VacBird bags had visible micro creasing and corner stress marks, while the zipper needed the most attention. The bags still held their basic function, showing that condition and performance matter more than simply counting uses.